
Looking for a reliable toe-up sock pattern that works for the whole family? This free pattern is one of my favorite free sock knitting patterns for knitters who want a practical, comfortable everyday sock with flexible sizing and easy customization.
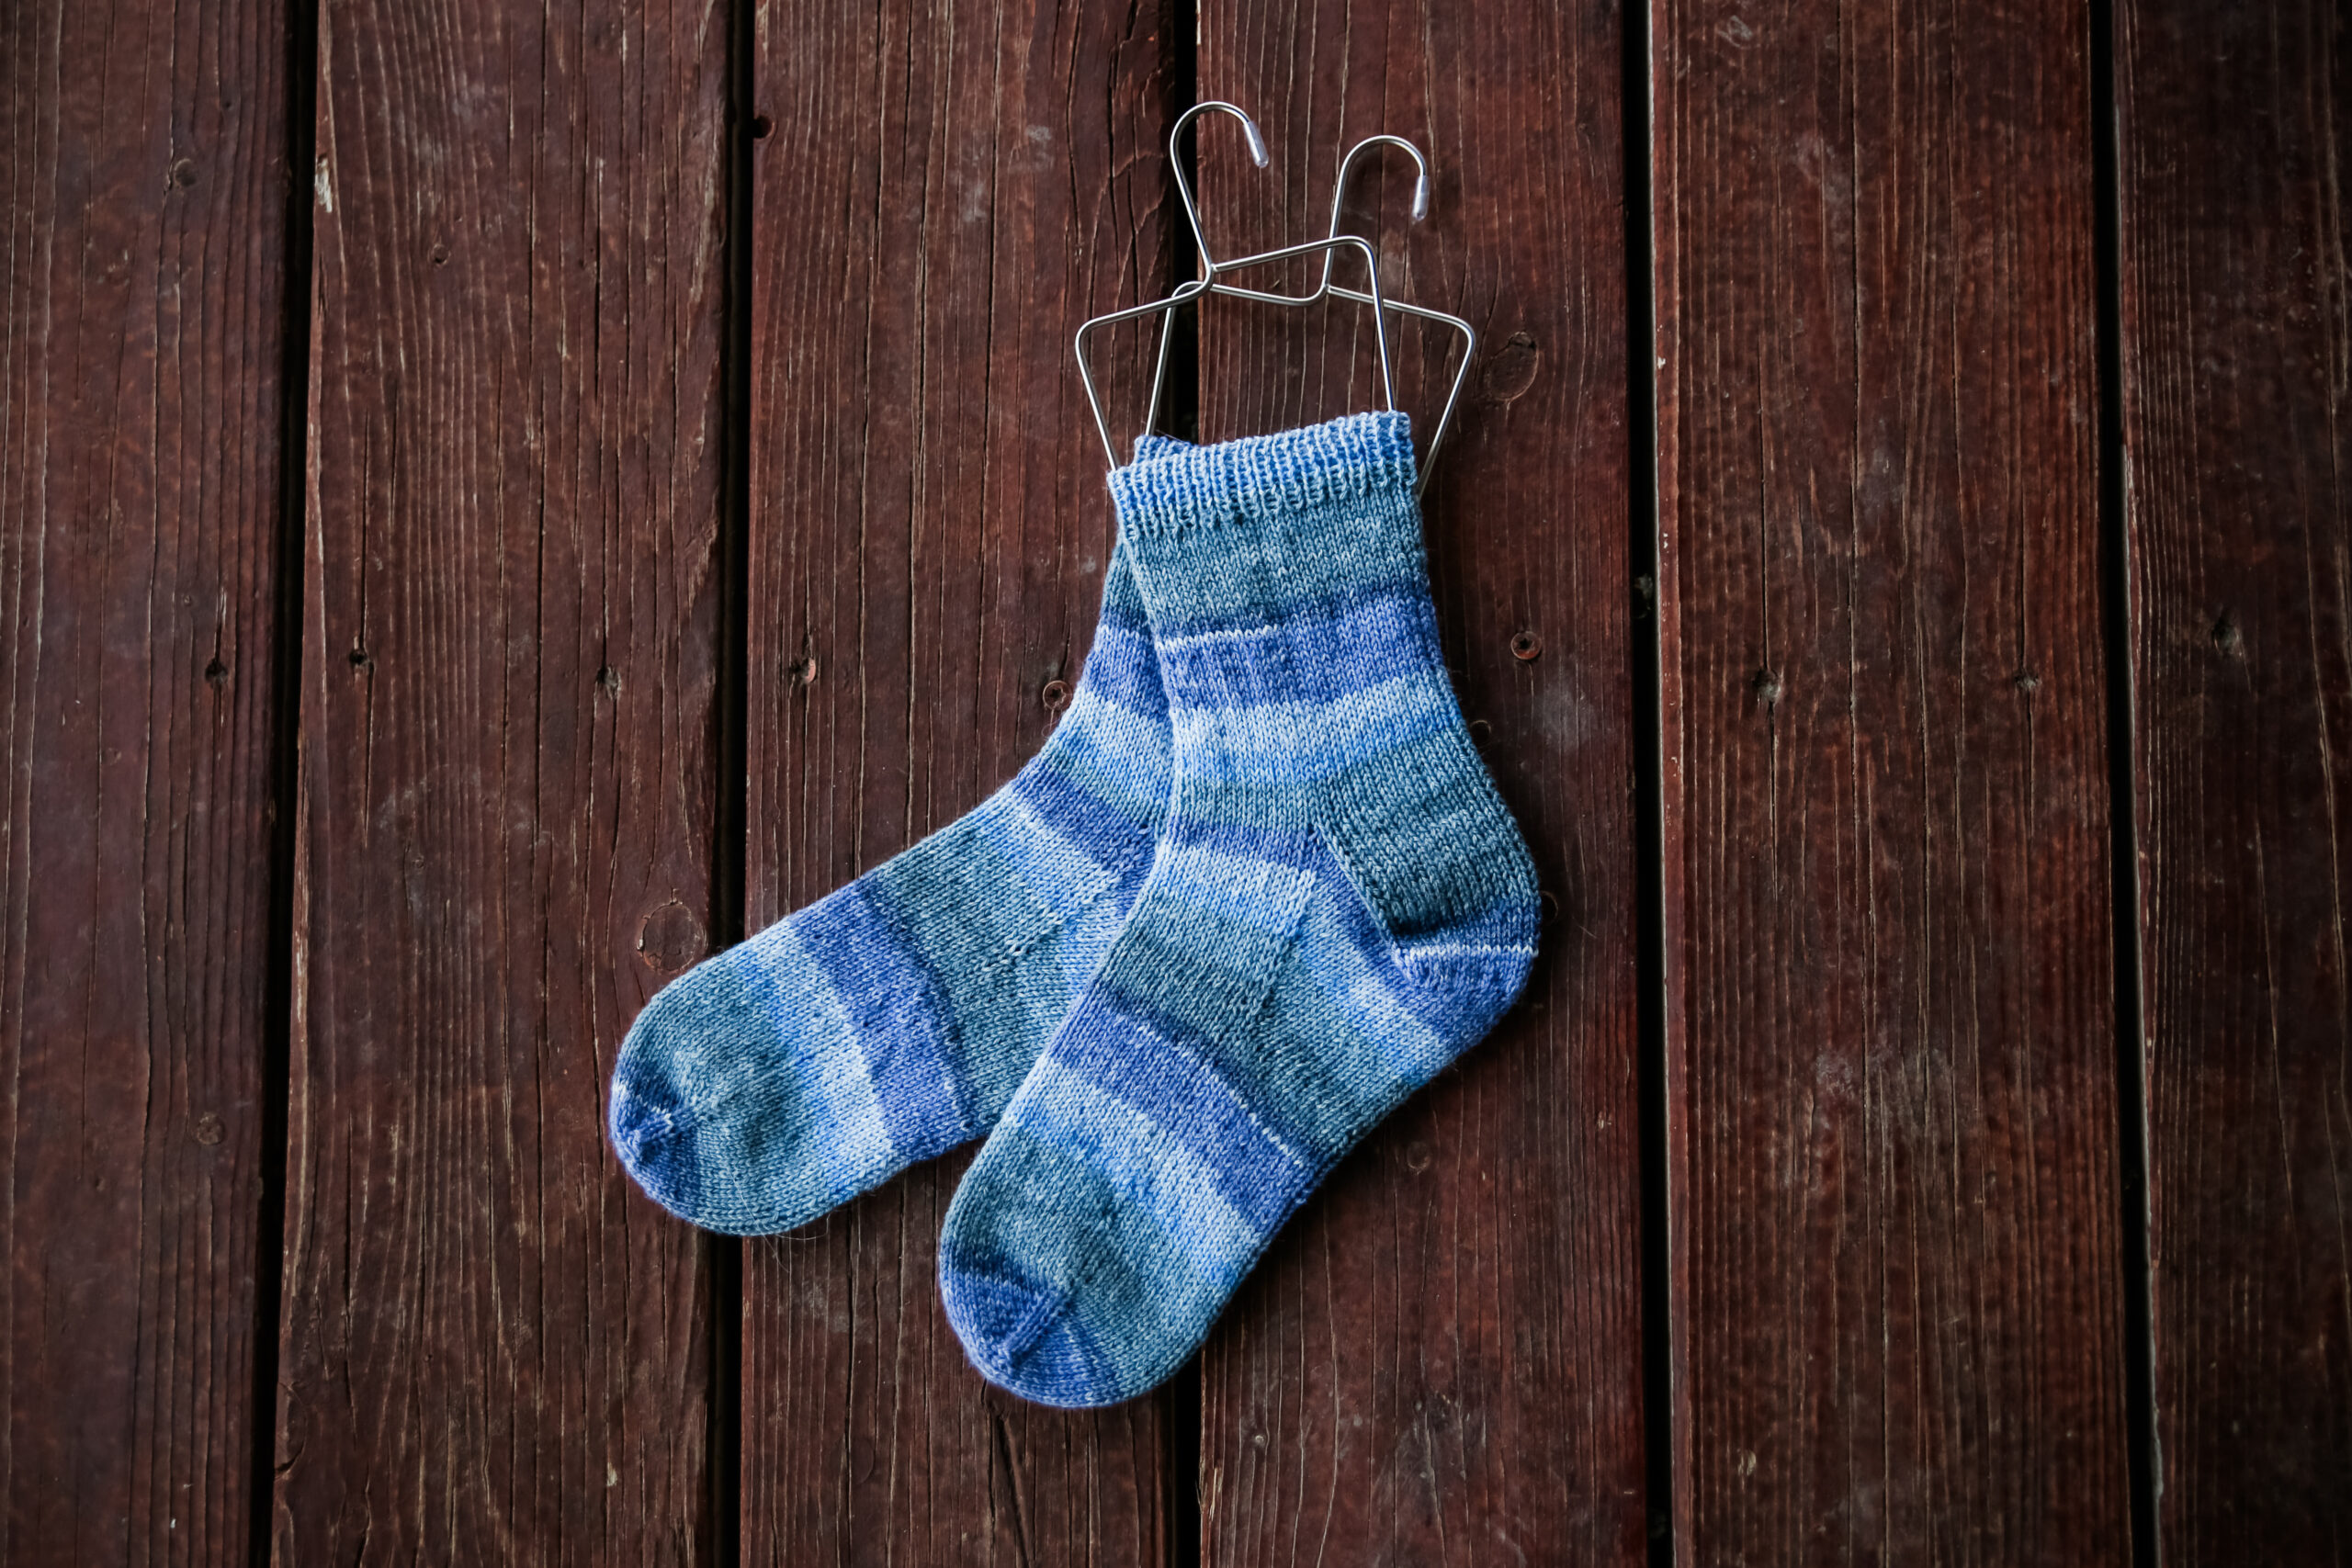
The Toe-Up September Socks are worked from the toe upward with a heel flap and classic stockinette stitch, making them simple to wear, easy to fit, and ideal for knitters who like to try socks on as they go. If you’ve ever wished you could adjust foot or leg length mid-project, this toe-up sock pattern makes that incredibly easy.
Whether you’re knitting for babies, kids, or adults, this pattern gives you a straightforward sock recipe that works again and again. It’s especially great if you love maximizing every inch of your yarn or prefer to avoid guessing how long to make the foot before starting the heel.

One of my favorite things about this toe-up sock pattern is how practical it is for everyday knitting. You can use up nearly every bit of your skein, customize the leg length to your liking, and try the socks on while knitting for a better fit.
If you’ve never knit toe-up socks before, don’t worry—this pattern keeps things simple enough for confident beginners while still being enjoyable for experienced sock knitters.
What Materials Do You Need for This Toe-Up Sock Pattern?
For these socks, I recommend a sturdy fingering-weight sock yarn with a bit of nylon for durability. Since the original yarn I used has been discontinued, there are several great substitutes that work beautifully.
Materials Needed:
I love using fingering-weight yarn for socks because it creates a durable fabric that still fits comfortably inside everyday shoes. A wool/nylon blend gives you the best mix of stretch, structure, and wear resistance.

Choosing the right yarn really makes a difference for a project like this, especially when you want socks that hold up well over time.
Why Choose a Toe-Up Sock Pattern?
There are plenty of reasons knitters love working a toe-up sock pattern, and after knitting many pairs myself, I completely understand why.
First, toe-up construction allows you to try your socks on as you knit. That means you can adjust the foot length exactly where needed instead of hoping your math was correct. It also makes it much easier to use every bit of yarn from your skein without worrying about running out before the second sock.
This pattern begins with Judy’s Magic Cast On, which creates a seamless toe and gives the socks a polished, professional finish. If you need help with that technique, be sure to check out my Judy’s Magic Cast On tutorial before getting started.

Another benefit of this toe-up sock pattern is the heel flap construction. If you love the fit of traditional heel flap socks but prefer knitting from the toe upward, this pattern gives you the best of both worlds.
When you reach the cuff, I recommend using Jeny’s Surprisingly Stretchy Bind Off for plenty of stretch and comfort around the ankle.
Looking for More Free Sock Knitting Patterns?
If you enjoy this pattern, here are a few more sock patterns you may love:
These patterns all offer slightly different constructions and stitch details while keeping the same comfortable, wearable style. Whether you want ankle socks, worsted-weight socks, or more textured options, there’s something here for every kind of sock knitter.

If you’re building your handmade sock drawer, these patterns pair perfectly together and give you plenty of variety while using techniques you may already know.
Sock knitting is one of those skills that gets more addictive with every pair, and having several go-to patterns makes it even more fun.
Toe-Up September Socks Pattern
Yarn: 120 (180, 240), 300, 320, (380, 480) yards fingering / sock weight yarn
Needles: US #1 / 2.25mm DPNs (or circular for magic loop)
Notions: stitch markers, needle
Gauge: 8sts x 11rows per inch
sizing:
baby (toddler, child,) lg child, adult S, (M, L)
Finished measurements (unstretched):
Cuff (around): 5 (5.5, 6.5) 7, 7.5, (8, 9)”
Leg Length (adjustable): 2.5 (3.5, 4) 4.5, 5, (6, 7)”
Foot Length (adjustable): 4 (6, 7.25), 8, 9, (10, 11.25)”
Toe
Cast on using Judy’s magic cast on 16 (16, 20) 20, 20, (24, 24) sts
Knit around
Inc round – k1, m1l, knit to 1 st before end of needle, m1r, k1, repeat on second needle.
Repeat the above 2 rounds until there are 40 (44, 52) 56, 60, (64, 72) sts on your needles. There will be a total of 6 (7, 8) 9, 10 (10, 12) increases. If using dpn separate your stitches as follows:
Needle 1 (top of foot) – 20 (22, 26) 28, 30 (32, 36) sts
Needles 2 & 3 (bottom of foot) – 10 (11, 13) 14, 15 (16, 18) sts each
If you using magic loop or short circular use stitch markers to mark these “needles”
The beginning of round is the start of the top of foot.
When using dpn: Needle 1 is the top of foot, needles 2&3 are the bottom of foot. I will be using this distribution of stitches for the remainder of the pattern for descriptive purposes.
Foot
Continue working in the round, keeping the top of foot in pattern, until the piece measures 2.5 (3, 3.5) 5, 6, (6.5, 7) inches from back of heel, or 1.5 (2, 2.5) 3, 3, (3.5, 4) inches short of desired foot length.
Gusset
Round 1 – Knit across needle 1 (the top of the foot 20 (22, 26) 28, 30 (32, 36) sts), k1, m1l, knit across to last st on needle 3 (the last st of the round), m1r, k1
Round 2 knit around
Repeat these 2 round until you have increased a total of 8 (9, 10) 11, 11 (12, 13) times which will give you 56 (62, 72) 78, 82 (88, 98) sts
Heel Turn
Knit across needle 1 and 2 (to second marker if working on circulars) 38 (42, 49) 53, 56 (60, 63)sts worked
You will now be working back & forth, not in the round, turning at the end of each row.
Row 1 – k 5 (6, 7) 8, 9 (10, 12) sts, kfb, k1, w&t
Row 2 – purl across needle 3, p 5 (6, 7) 8, 9 (10, 12) sts on needle 2, pfb, w&t
Row 3 – Knit across needle 3, k 3 (4, 5) 6, 7 (8, 10) sts, kfb, k1, w&t
Row 4 – purl across needle 3, p 3 (4, 5) 6, 7 (8, 10) sts on needle 2, pfb, w&t
Continue in this pattern working 2 fewer sts each time until you have 1 (2, 1) 2, 3 (4, 6) sts left on each needle yet to be worked in short rows, ending after completing a purl row. You should have 20 (22, 26) 28, 30 (32, 36)sts between your short row markers.
Heel Flap
Row 1 – Knit across needle 2, sm, knit to the w&t marker, working wraps as you go, rm, turn,
Row 2 – sl1, purl across to the other w&t marker, working wraps as you go, turn, rm
Both w&t markers should now be removed.
Row 3 – sl1, knit to 1 st before gap, ssk, turn
Row 4 – sl1, purl to 1 st before gap p2tog, turn
Repeat rows 3 and 4 until you have 40 (44, 52) 56, 60, (64, 72) sts total with 10 (11, 13) 14, 15 (16, 18) sts on each of needle 2 and 3 (the bottom of the foot needles), ending with a row 2.
Sl1 and knit across needle 2 and 3 (the bottom of the foot).
Leg
Work in stockinette until piece measures 2.5 (3.5, 4) 4.5, 5, (6, 7) inches from the top of the heel.
Cuff
Work in 1×1 rib (k1, p1) for 8 (8, 10) 10, 12, (12, 14) rounds.
Bind off using your favorite stretchy bind off. I like to use a sewn or Italian bind off. You can always add a thread of elastic in the bind off to help it from getting stretched out from repeated use.
Weave in all ends
ABBREVIATIONS
k – knit
P – purl
sm – slip maker
pm – place marker
rm – remover marker
sl – slip stitch
st – stich
sts – stitches
k2tog -knit 2 stitches together
ssk – slip next st knitwise, slip next st knitwise, place stitches back onto left needle, knit both slipped sts together
w&t – wrap and turn
kfb – knit front and back
pfb – purl front and back

If you make a pair, I’d love to hear how they turned out—leave a comment below and tell me who you’re knitting them for first!
ERRATA 08/29/25 – This pattern has been updated with clearer instructions for the heel. It will work up the same and none of the numbers changed but has easier instructions to follow.
Disclaimer: This page contains affiliate links. If you choose to make a purchase after clicking a link, I may receive a commission at no additional cost to you. Thank you for your support!