
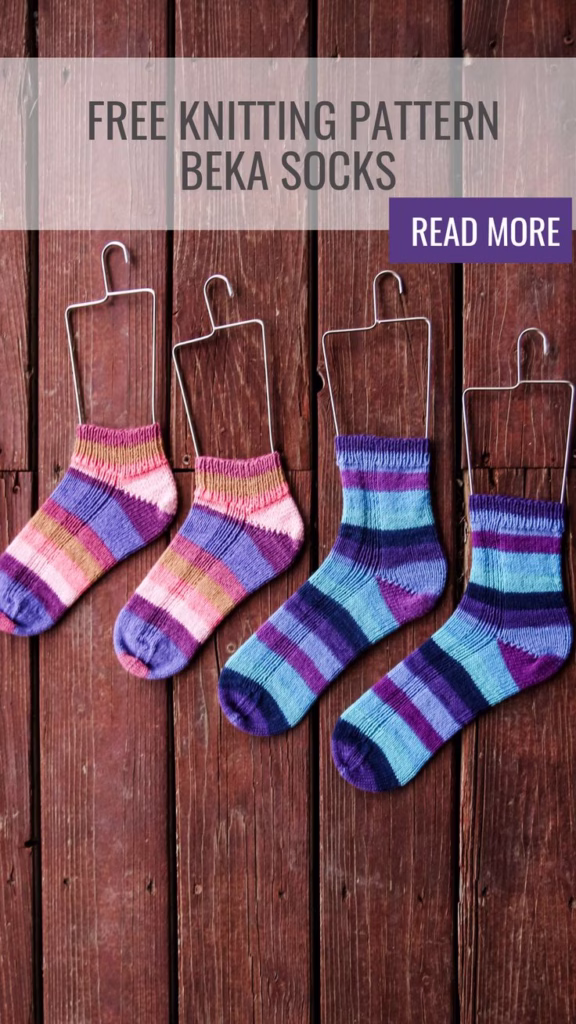
This free sock knitting pattern is a simple, wearable design that fits right into my collection of free sock knitting patterns, giving you a clean stockinette look with just enough detail to keep things interesting.
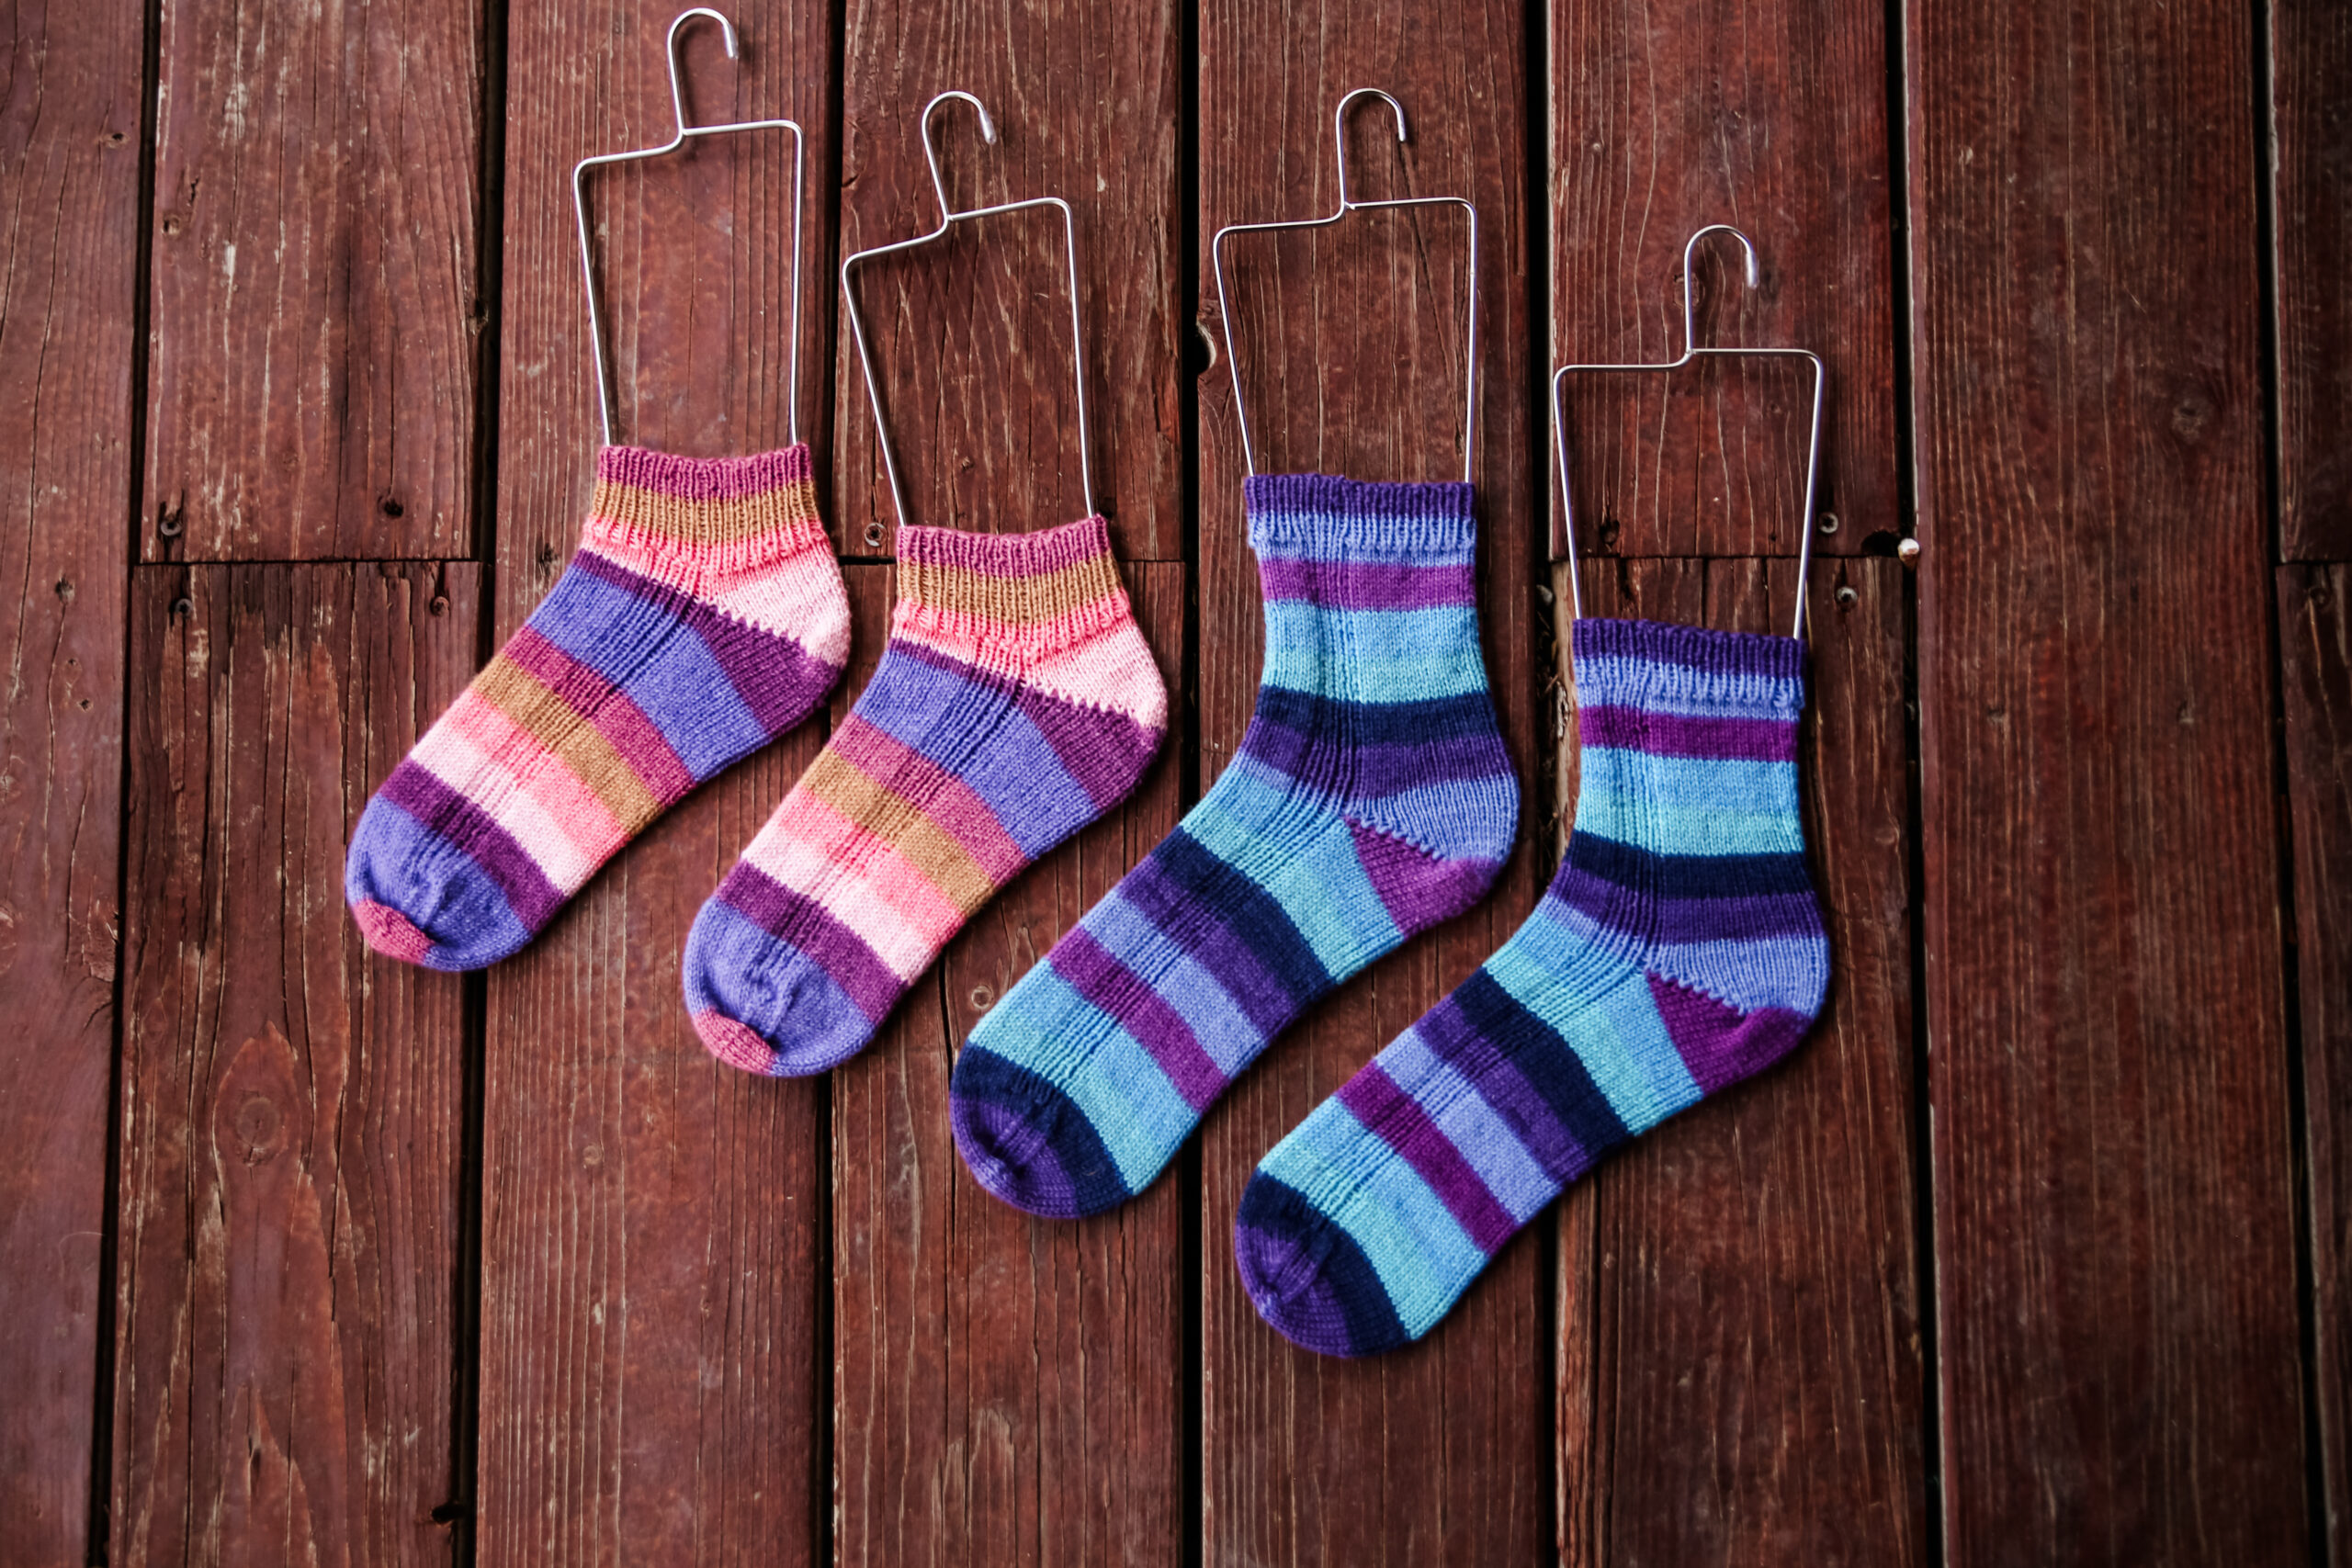
If you’ve ever felt stuck choosing between basic socks and overly complicated ones, this pattern solves that problem beautifully. The Beka Socks are worked top down with a short row heel (my mitered heel), and they include both ankle and crew length options so you can customize your pair. This free sock knitting pattern is written for real-life knitting, meaning it’s easy to memorize, relaxing to work on, and perfect for knitting multiple pairs without burnout.
If you’ve been wanting a go-to sock that looks polished but doesn’t slow you down, this is exactly that. It’s the kind of pattern you’ll reach for again and again when you just want to knit.
What materials do you need for Beka Socks?
For this free sock knitting pattern, I kept everything simple and practical so you can jump right in without digging through your stash.
KnitPicks Felici Yarn
2.25 mm double pointed needles
Yarn needle
I love using Felici for socks because the self-striping keeps things fun without extra work, and it pairs perfectly with the smooth stockinette body of this pattern. The 2.25 mm needles give you that classic sock fabric that holds its shape while still feeling comfortable to wear.
This combination makes the whole knitting process feel easy and predictable, which is exactly what I want in a free sock knitting pattern.

Before we jump into the knitting, just know this pattern is designed to be something you can pick up anytime without overthinking it. That’s always a win in my book.
How do you knit the Beka Socks using this free sock knitting pattern?
This free sock knitting pattern is worked from the top down, starting with a stretchy cuff and moving into a smooth stockinette leg with subtle ribbing along the front sides for just a bit of structure. The short row heel (or mitered heel) keeps things streamlined and avoids the extra bulk of a heel flap, which makes these socks feel really clean and modern.
If you’ve never worked a short row heel before, don’t worry. It’s easier than it sounds and once you do it once, it clicks quickly. Just focus on keeping your tension even and following the turns carefully.
One of my favorite things about this pattern is how easy it is to adjust the length, whether you want a quick ankle sock or a longer crew length.

By the time you finish your first pair, you’ll already be thinking about your next one. That’s always the sign of a good pattern.
Looking for more free sock knitting pattern ideas?
If you loved this free sock knitting pattern, I have quite a few more you can try next:
• Simone Ankle Socks
• Ethan Socks
• Ezra Socks
• Vanilla Ankle Socks
• Ruben Socks
Each one has its own feel, but they all keep that same balance of simple and interesting that makes knitting socks actually enjoyable.
You can easily build a whole drawer of handmade socks just by rotating through these patterns.

It’s a great way to keep your knitting fresh without constantly learning something brand new every time.
Beka Socks Pattern
Materials:
Yarn: 2 skeins of Knitpicks Felici
Needles: US #1 / 2.25mm DPNs (or circular for magic loop)
Notions: stitch markers, needle
Gauge: 8sts x 11rows per inch
sizing:
baby (toddler, child,) lg child, adult S, (M, L)
Finished measurements (unstretched):
Foot Length (adjustable): 4 (6, 7.25), 8, 9, (10, 11.25)”
Model is wearing an adult small. This pattern comes with instructions for ankle length and regular length legs.
Abbreviations can be found on the last page.
Cuff
Cast on 40 (44, 52) 56, 60, (64, 72) sts, join for working in the round. Separate stitches on your dpn as follows:
1st needle 20 (22, 26) 28, 30 (32, 36) sts
2nd and 3rd needle 10 (11, 13) 14, 15 (16, 18) sts each needle
Work in 1×1 rib (k1p1 around) for 16 (16, 20) 20, 24 (24, 28) rounds
Then work in pattern as follows:
For sizes baby, toddler, child, lg child
M1P, k1, p1, k1, p1, k2tog, k 9 (11, 15) (17, x) x, x, p1, k1, p1, k1, p1, work in stockinette for 20, (22, 26) 28, x (x, x) sts
For sizes small adult, medium adult, and large adult
M1P, k1, p1, k1, p1, k1, p1 k2tog, k x (x, x) x, 15 (17, 21), p1, k1, p1, k1, p1, k1, p1 work in stockinette for x, (x, x) x, 30 (32, 36) sts
Ankle length
Work as above for 4 (4, 6) 6, 8, (8, 10) rounds.
Full length
Work as above until piece measures 2.5 (3.5, 4) 4.5, 5, (6, 7)” from cast on (or desired length)
Mitered Heel
Knit 1 stitch remains on needle 3; Wrap and Turn.
Purl until1 stitch remains on needle 2, W&T.
Turn and knit to 1 st before wrapped st; W& T.
Turn and purl to 1 st before wrapped st, W&T.
Continue in this manner until there are 4 (6, 8) 10, 12 (12, 14) sts between wrapped sts.
With RS facing, K to first wrapped st, pick up the wrap and K it together with the st it wraps; Turn
Slip 1, Purl to first wrapped st, pick up the wrap and P it together with the st it wraps, turn
Slip 1, knit across to next wrapped stitch, pick up the wrap and K it together with the st it wraps; Turn
Slip 1, Purl to next wrapped st, pick up the wrap and P it together with the st it wraps, turn
Continue working the last 2 rows, working one more st each row. When you have worked the last wrapped st on the WS, turn and K back; continue in the round, working in pattern across the instep where you left off.
Foot
Continue working in the round in established pattern until the piece measures 3 (5, 6) 6.5, 7, (8, 9)” from back of heel, or 1 (1, 1.5) 1.75, 2, (2, 2.25)” short of desired foot length.
Toe
Round 1: k1, ssk, knit to 3 sts before marker, k2tog, k2, ssk, knit to 3 sts before end of round, k2tog, k1 [4 sts dec]
Round 2: knit
Work rounds 1-2 a total of 5 (6, 7) 8, 9, (9, 10) times. until 16 (16, 20) 20, 20, (24, 24) sts remain.
For a left-handed tutorial of these decreases visit my youtube here
Cut yarn leaving a 12” tail, then graft toe using Kitchener stitch.
Weave in all ends
Kitchener stitch:
Place half the stitches on one needle, half the stitches on the other needle, (top and bottom NOT side to side)
Cut yarn (leaving a long yarn tail) and thread through a blunt needle. Set-up steps: Insert needle purlwise (back to front) through the first st on front needle, leaving the st on the needle. Then insert needle knitwise (front to back) through the first st on the back needle, leaving the st on the needle. Step 1: Insert needle knitwise through first st on front needle, then slip this st off the needle.
Step 2: Insert needle purlwise through the second st on front needle, leaving the st on the needle.
Step 3: Insert needle purlwise through first st on back needle, then drop this stitch off the needle.
Step 4: Insert needle knitwise through second st on back needle, leaving the st on the needle.
From this point to the end, repeat steps 1-4.
Kitchener stitch can be intimidating, but you get into a rhythm:
Front needle: knitwise drop off, purlwise leave on,
Back needle: purlwise drop off, knitwise leave on,
Repeat!
At the end of the row, there is only 1 stitch left on each needle.
Work steps 1 and 3 once more.
For a left-handed video tutorial of this visit my youtube here
Abbreviations
k – knit
P – purl
sm – slip maker
pm – place marker
st – stich
sts – stitches
k2tog -knit 2 stitches together
ssk – slip next st knitwise, slip next st knitwise, place stitches back onto left needle, knit both slipped sts together
m1p – make one purlwise
w&t – wrap and turn – wrap the yarn around the next stitch, turn work

If you end up making a pair of Beka Socks, I would love to hear about it. Leave a comment and tell me which length you chose or what yarn you used—I always enjoy seeing how these turn out for different knitters.
This post may contain affiliate links, which means I may earn a small commission at no extra cost to you. Thank you for supporting my work so I can continue to offer free knitting patterns.