
If you are looking for a free hooded baby cardigan pattern, this sweet little design is a must-knit—and it fits right in with my collection of free sweater knitting patterns.
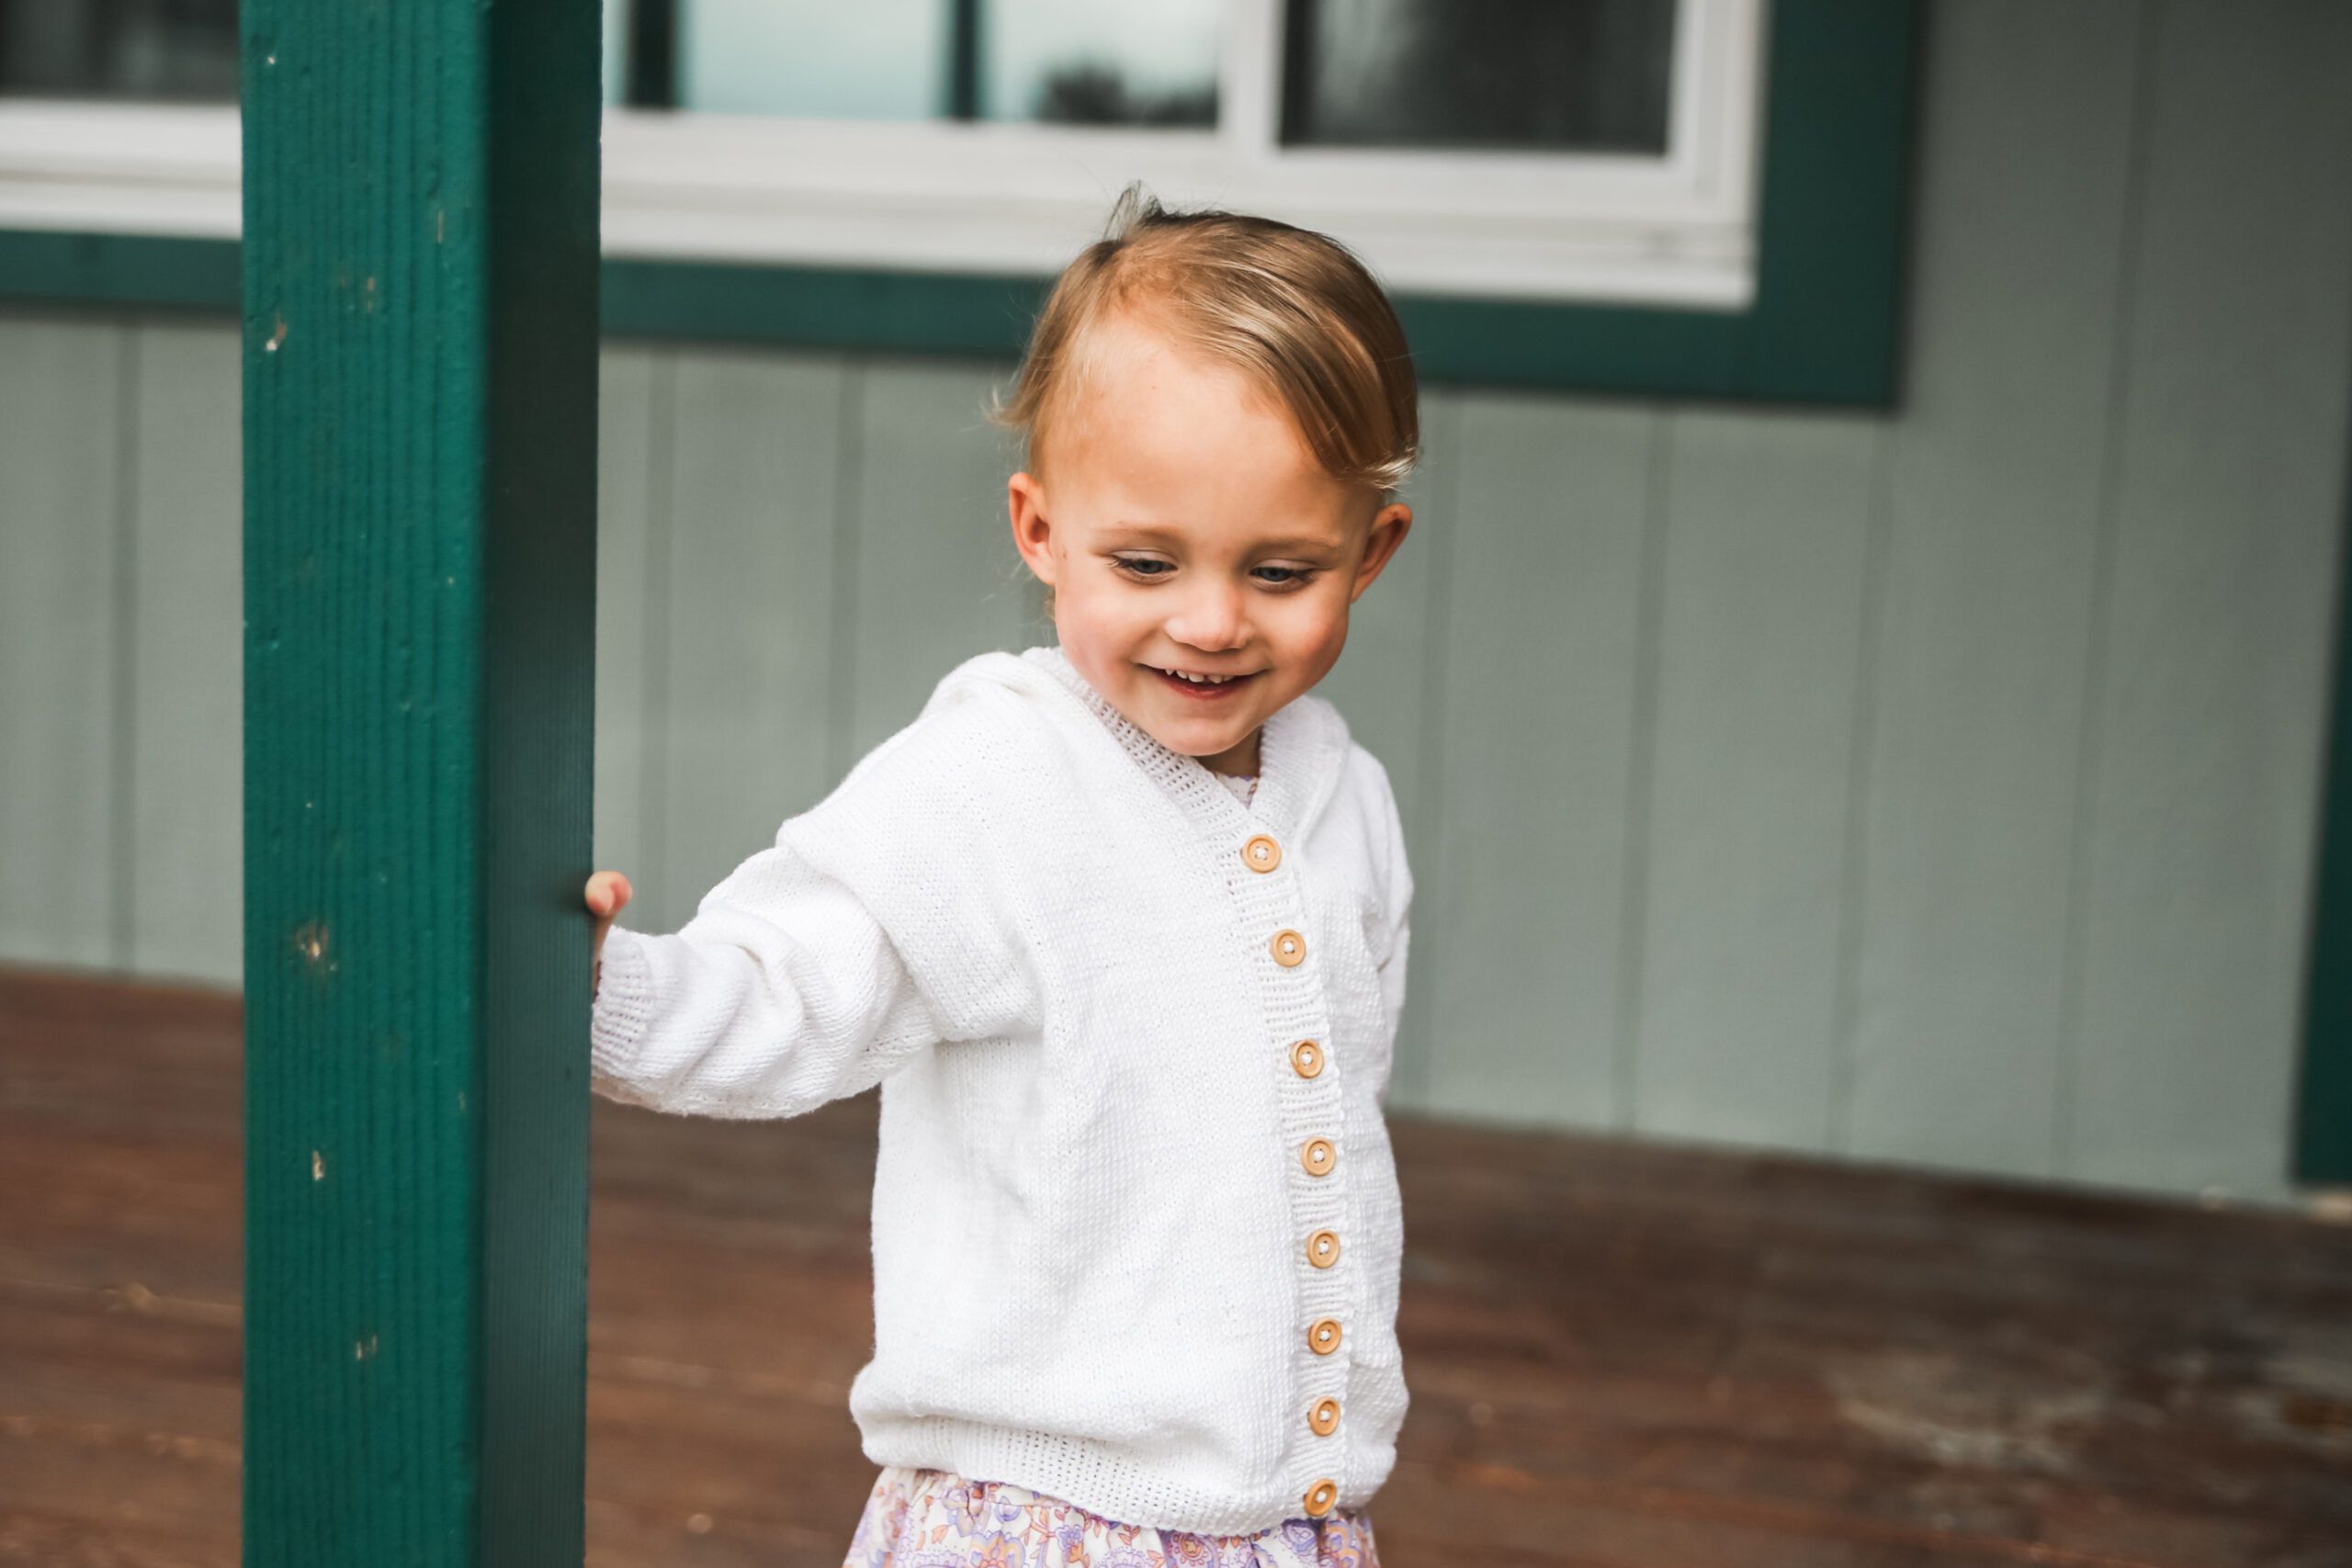
The Baby John Hooded Cardigan is a practical baby knit that gives you the warmth of a cardigan with the added cuteness of a cozy hood, making it perfect for chilly stroller walks, church, family photos, or everyday wear. Designed in sizes from 0–3 months through 24 months, this pattern gives you plenty of options whether you are knitting for a newborn gift or sizing up for a growing toddler. If you have been searching for a baby cardigan that is classic, wearable, and not overloaded with fuss, this free hooded baby cardigan pattern checks all the boxes.

One of my favorite things about this design is how timeless it feels. Hooded baby cardigans have that sweet handmade look while still being incredibly practical for everyday use. The hood adds extra warmth without needing a separate hat, which every parent can appreciate.
This cardigan is worked flat and seamed, making it approachable for knitters who prefer traditional cardigan construction. The result is a polished little sweater that looks far more impressive than the actual knitting process feels.
What Materials Do You Need for This Free Hooded Baby Cardigan Pattern?
For this free hooded baby cardigan pattern, I used Premier Yarns Cotton Fair because it creates a lightweight, breathable fabric that works beautifully for babies. Cotton Fair has a soft drape with enough structure to help the cardigan hold its shape, which is especially helpful for a hooded garment like this. You will also need 3.5mm straight needles and 3mm straight needles to achieve the correct gauge and create neat ribbing.
Additional supplies include stitch markers, a tapestry needlefor seaming, and coordinating buttons for finishing the front closure. As always, I recommend swatching before you begin so your finished cardigan fits the intended size.
Because this yarn is a cotton blend, it gives the cardigan a lighter feel than wool while still offering softness and warmth. That makes this an especially great layering piece for spring babies, summer evenings, or indoor wear year-round.

The finished fabric has beautiful stitch definition, which helps all the shaping details stand out nicely. If you want a cardigan that photographs beautifully while still being practical enough for real life, this yarn-and-pattern combo works wonderfully.
How Is This Hooded Baby Cardigan Knitting Pattern Constructed?
This hooded baby cardigan knitting pattern is worked flat in pieces and then seamed together for a structured, polished finish. The body and sleeves are shaped to create a classic cardigan silhouette, while the hood is added to give the sweater that extra cozy detail. Because the pattern is knit flat on straight needles, it is a great option for knitters who are more comfortable working back and forth rather than in the round.
If you have made seamed baby garments before, this project will feel very straightforward. And if you have not, it is a wonderful introduction to garment finishing without being overly complicated.
The hood gives this cardigan a slightly elevated look compared to a basic baby sweater, but the construction remains beginner-friendly enough for confident newer knitters. It is one of those projects that looks impressive while still being enjoyable to knit.

Once assembled, the cardigan has a clean, tailored finish that makes it look professionally made. The hood sits nicely without feeling bulky, which can be hard to find in baby sweater patterns.
Looking for More Free Cardigan Knitting Patterns?
If you love this free hooded baby cardigan pattern, here are a few more cardigan designs you may enjoy next:
- Baby Wheat Cardigan
- Youth Judah Zipped Cardigan
- Child Anna Cardigan
- Youth Damask Cardigan
- Baby Damask Cardigan
These patterns range from simple everyday layers to more textured statement pieces, so there is something for every style and skill level. If you are building a handmade wardrobe for your little ones, these cardigans make excellent staples.
I personally love having multiple cardigan options on hand because they are one of the most useful knit garments for babies and kids. They layer easily, fit longer than pullovers, and make adorable gifts.

Whether you are knitting for your own child, a grandbaby, or a baby shower gift, cardigans are always a practical project choice. Handmade baby sweaters tend to become treasured keepsakes long after they are outgrown.
Baby John Hooded Cardigan Pattern
Size: 0-3m, 3-6m (6-12m, 12m) 18m, 24m
Materials: Approximately 2, 2 (3, 3) 4, 4 balls of Premier Cotton Fair 317yd/290m 3.5oz/100g, 8 3/8in buttons, yarn needle, stitch markers
Needle Size: 2(US) 3mm & 4(US) 3.5mm straight and dpn
Gauge (tension): 28sts & 36 rows to make 10cm square in stockinette, using size 4(US) 3.75mm needles
Chest Measurement: 41, 44 (47, 50) 52, 54 cm
METHOD
This pattern is for a drop sleeve style that is worked flat from the bottom up with 10cm of ease in stockinette stitch (knit right side row, purl wrong side row).
BACK
Cast on 74, 78 (82, 86) 88, 92 sts using the smaller circular needles Work 2, 2 (2, 2.5) 2.5, 2.5 cms of (k1, p1) rib.
Switch to larger size circular needles.
Work in stockinette until your work measures 14, 15.5 (17.5, 19.5) 21, 22.5 cm measured from the cast-on edge. Place markers on each end of the row to mark armhole.
Continue working until work measures 23, 25 (28, 31) 33, 35 cms from cast on edge ending after completing a wrong side row.
SHOULDERS
Bind off 22, 23 (24, 25) 26, 27 place next 30, 32 (34, 36) 36, 38 sts on stitch holder, bind off 22, 23 (24, 25) 26, 27 .
LEFT FRONT
Cast on 35, 37 (39, 41) 42, 44 sts using smaller needle
Work 2, 2 (2, 2.5) 2.5, 2.5 cms of (k1, p1) rib.
Switch to larger size circular needles.
Work in stockinette stitch until your work measures 14, 15.5 (17.5, 19.5) 21, 22.5 cm measured from the cast-on edge. Place marker on sleeve end of the row to mark armhole.
Continue working until work measures 23, 25 (28, 31) 33, 35 cms from cast on edge, ending after completing a wrong side row
SHOULDERS
Bind off 22, 23 (24, 25) 26, 27 sts, place remaining 13, 14 (15, 16) 16, 17 sts on a stitch holder.
RIGHT FRONT
Cast on 35, 37 (39, 41) 42, 44 sts using smaller needle
Work 2, 2 (2, 2.5) 2.5, 2.5 cms of (k1, p1) rib.
Switch to larger size circular needles.
Work in stockinette stitch until your work measures 14, 15.5 (17.5, 19.5) 21, 22.5 cm measured from the cast-on edge. Place marker on sleeve end of the row to mark armhole.
Continue working until work measures 23, 25 (28, 31) 33, 35 cms from cast on edge, ending after completing a wrong side row
SHOULDERS
Place 13, 14 (15, 16) 16, 17 sts on stitch holder, bind off 22, 23 (24, 25) 26, 27 sts.
SLEEVES (MAKE 2)
Cast on now 36, 38 (38, 40) 42, 44 sts on smaller circular/straight needles. Work 2, 2 (2, 2.5) 2.5, 2.5 cms of (k1, p1) rib.
Switch to larger size circular needles
Work in tockinette for 4 rows.
Next row: inc 1 sts on each end every other row 6, 7 (8, 7) 7, 7 times, then every 4th row 2, 3 (4, 6) 7, 8 times. 54, 58 (62, 66) 70, 74 sts]
Continue working in lace pattern until work measures 11.5, 13.5 (15.5, 17.5) 19, 20.5 cms from cast on edge. Bind of all stitches.
HOOD
Join both shoulder seams, using yarn on a tapestry/yarn needle. Place all neck stitches on larger needles 13, 14 (15, 16) 16, 17 left front, 30, 32 (34, 36) 36, 38 back, 13, 14 (15, 16) 16, 17 right front, for a total of 56, 58 (64, 68) 68, 72 sts on your needles
With right side facing, increase 22, 26 (28, 30) 34, 32 sts evenly for an ending stitch count of 78, 84 (92, 98) 102, 104
Continue in stockinette stitch until your work measures 14, 15 (16, 17.5) 18, 18.5 ins from start of hood, ending after completing a wrong side row. Decrease rows
Row 1 – k36, 39 (43, 46) 48, 49 ssk, k2, k2tog, k36, 39 (43, 46) 48, 49 Row 2 – work in stockinette stitch
Row 3 – k 35, 39 (43, 45) 47, 48 ssk, k2, k2tog, k35, 39 (43, 45) 47, 48 Row 4 – work in stockinette stitch
Continue in this manner until your work measures 17.5, 19 (20, 21) 22, 22.5 from start of hood, ending after completing a wrong side row.
Do not bind off. Divide hood stitches equally onto 2 needles and kitchener stitch the hood closed.
FRONT RIB EDGES
Using smaller needles, with right side facing, pick up and knit 2sts for every 3 rows from the bottom of left all the way around the hood and back down the right front. Work these stitches in k1p1 ribbing for 4 rows.
Mark for buttons as follows, pm 3sts from the bottom, then place the remaining 7 markers every 2.5, 2.5 (3, 3) (3.5, 3.5) cms along the ribbed band. Button hole row: work in k1p1 to first marker, yo, k2tog, [work in k1p1 to next marker, yo, k2tog] repeat [to] until all button holes are complete. Work in k1p1 ribbing for 4 more rows.
Bind off in pattern.
FINISHING
Sew the sleeves on, side seams and sleeve seams. I prefer to use the mattress stitch because it almost appears seamless. Weave in all ends. Sew the buttons on along the left front edge across from the
buttonholes
ABBREVIATIONS
K – knit
P – purl
PM – place marker
SM – slip marker
K2tog -knit 2 stitches together YO – yarn over
SSK – slip, slip, knit the slipped sts together.
M1- Insert the left needle under the strand that runs between two stitches from back to front, then knit this strand

I would love to hear what color you plan to make yours in—leave me a comment below and tell me who you are knitting for! Hooded baby cardigans are always so fun to customize, and I love seeing how different yarn colors completely change the look of the finished sweater.
This post may contain affiliate links, which means I may earn a small commission at no extra cost to you if you purchase through my links. Thank you for supporting my business!