
This free child lace cardigan pattern is a beautiful addition to your collection of free sweater knitting patterns, designed for knitters who want something lightweight, wearable, and detailed without feeling overwhelming.
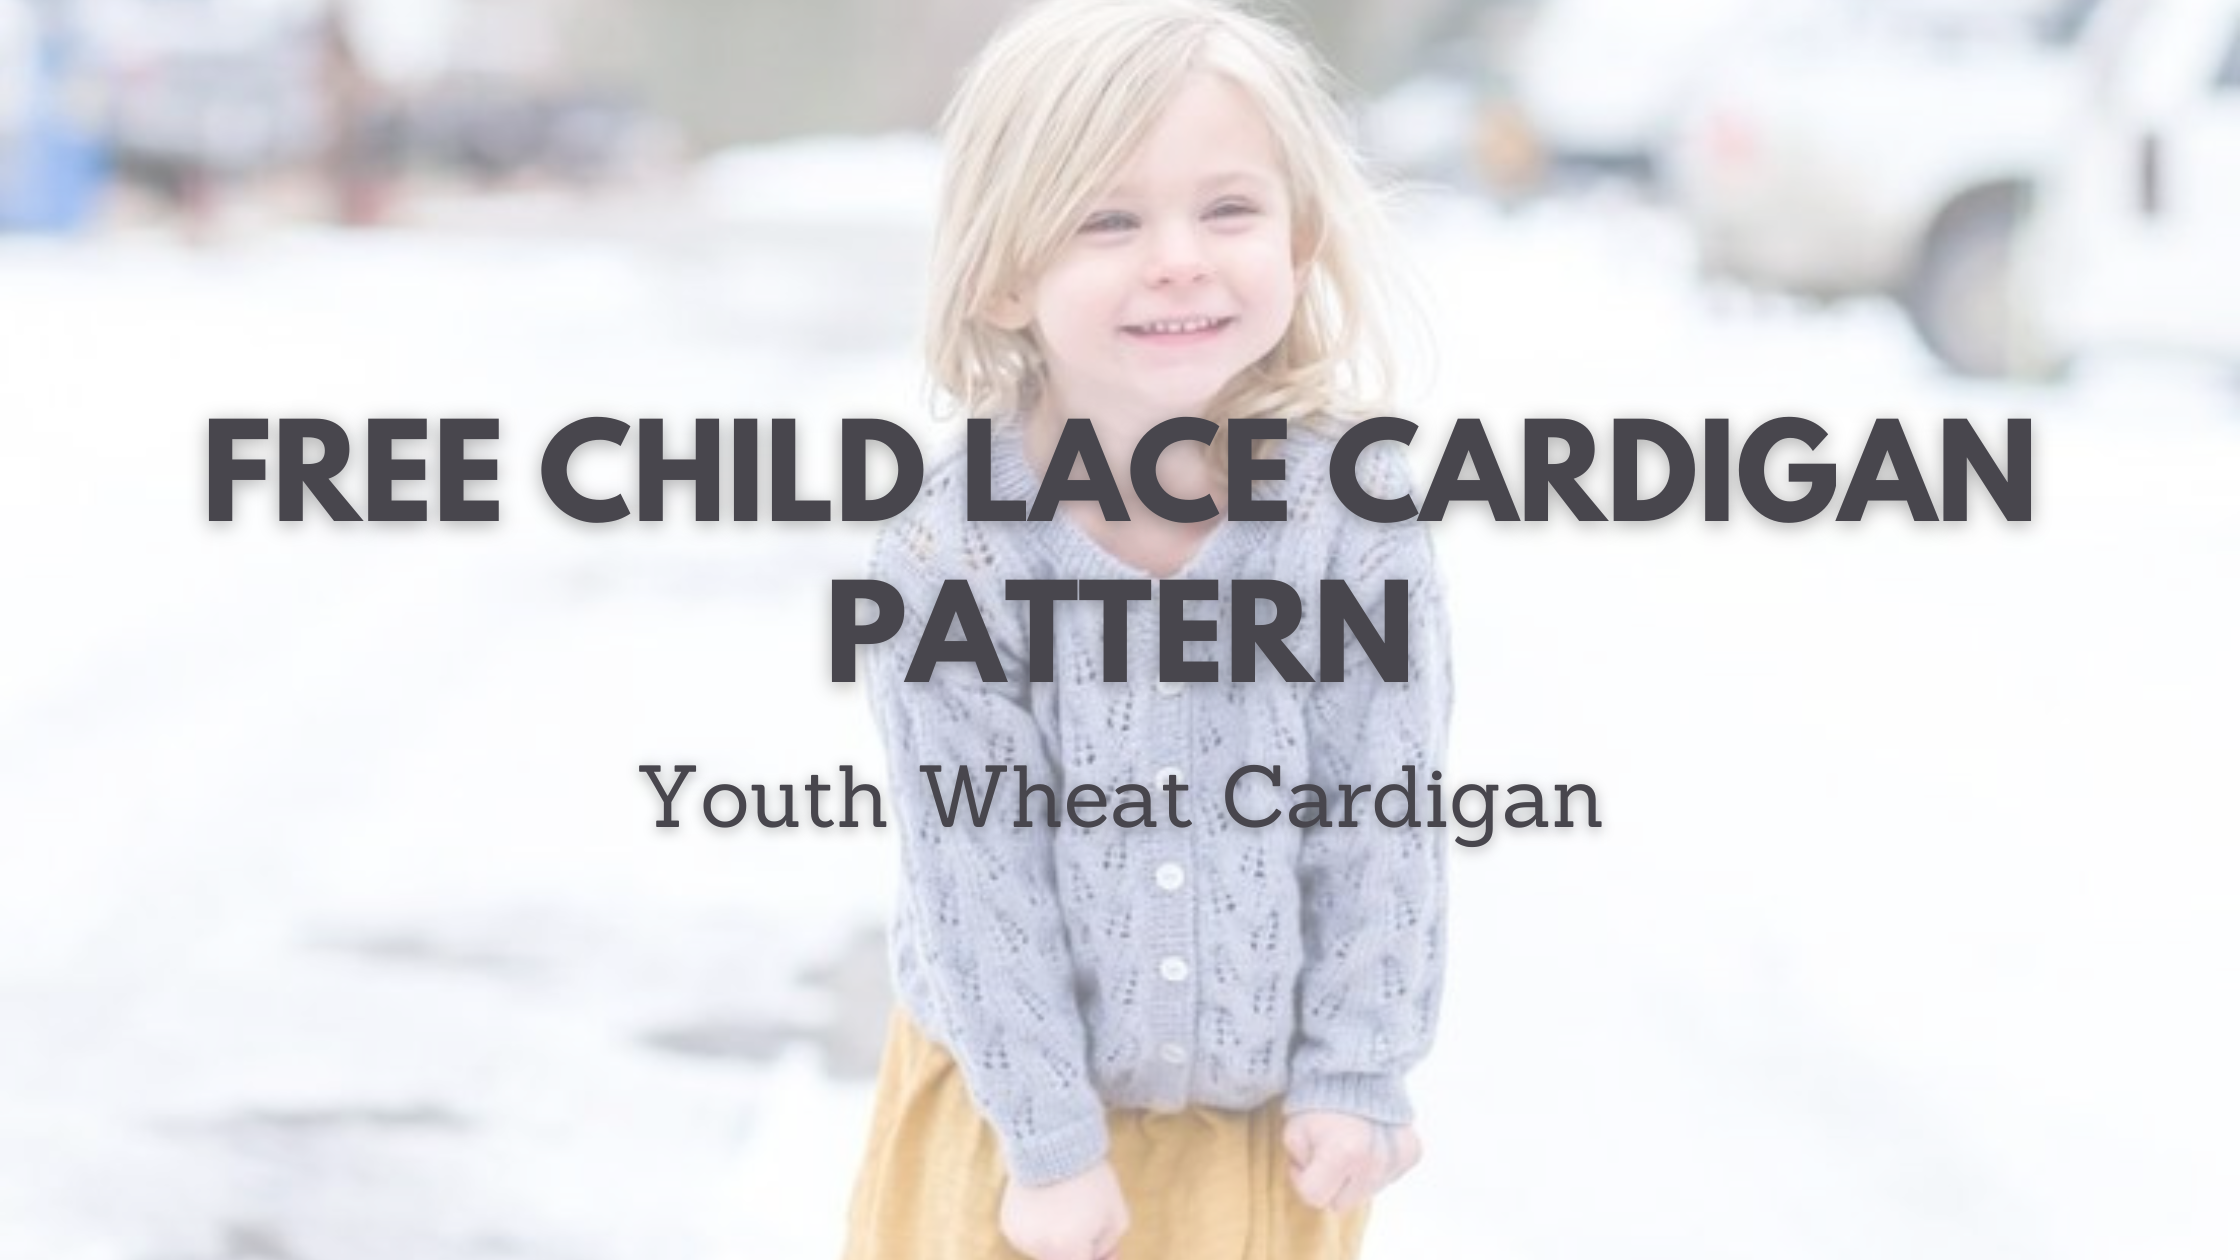
If you’ve been searching for a layering piece that works year-round and still feels special, this pattern solves that problem. The Youth Wheat Cardigan is worked flat with a classic drop sleeve shape, making it approachable while still giving you that satisfying lace texture. This free child lace cardigan pattern uses fingering weight yarn for a soft, breathable fabric that looks just as good over a dress as it does with everyday outfits.

If you’ve ever wanted a lace project that feels doable but still looks impressive, this is it. The structure keeps things simple while the stitch pattern keeps it interesting, so you don’t get bored halfway through. It’s one of those knits that looks detailed but flows once you get going.
The Youth Wheat Cardigan is part of a full set, which makes it even more fun if you love coordinating pieces. You can easily mix and match it with other Wheat designs, or let it stand on its own as a go-to layer. Either way, it’s a piece that gets worn again and again.
What materials do you need for this free child lace cardigan pattern?
For this free child lace cardigan pattern, I used KnitPicks Capretta yarn, which is one of my favorites for lace because it gives you that soft feel while still holding the stitch definition. Since this is fingering weight yarn, it creates a lightweight fabric that works across seasons without feeling bulky. You’ll also want size 2.5mm and 3mm needles to help the lace open up nicely and keep your gauge consistent.
The yarn choice really matters here because the lace pattern shines best when your stitches are clean and even. A smooth blend like Capretta helps every detail show up clearly, which makes the finished cardigan look polished without extra effort.

Once you have your materials ready, everything else flows pretty smoothly. It’s one of those projects where good yarn and the right needle size make all the difference in how enjoyable the process feels.
How is this free child lace cardigan pattern constructed?
This free child lace cardigan pattern is worked flat in pieces from the bottom up, which makes it perfect if you prefer knitting back and forth instead of managing everything in the round. The drop sleeve construction keeps shaping simple, so you can focus more on the lace and less on complicated math.
The lace pattern itself follows a steady repeat, and once you’ve worked through a few rows, it becomes easy to read your stitches and stay on track. Keeping stitch markers handy will help you stay organized, especially when working across larger sizes.

After knitting, everything is seamed together, which gives the cardigan structure and helps it hold its shape over time. A simple blocking at the end really brings the lace to life and gives you that finished look.
Looking for more free sweater knitting patterns for kids?
If you enjoy this free child lace cardigan pattern, you’ll probably love these too:
• Youth Damask Cardigan
• Youth Rosemary Cardigan
• Youth Mary Cardigan
• Youth September Cardigan
• Youth Judah Zipped Cardigan
Each one has its own style and texture, so you can switch things up depending on what you’re in the mood to knit. Some lean more classic, while others bring in fun stitch patterns or different constructions.

It’s always fun to build out a little collection of go-to cardigans, especially when you find styles that fit well and get worn often. Having a few options like this makes it easy to keep knitting pieces your kids will actually reach for.
Youth Wheat Cardigan Pattern
Size: 3, 4 (5, 6) 7, 8 (9, 10) 11, 12 (13, 14)
Materials: Approximately 4, 5 (5, 5) 5, 6 (6, 7) 7, 8 (8, 8) balls ofKnitPick Capretta (230y/50g), 7, 7 (7, 7) 7, 7 (8, 8) 9, 9 (10, 10) 3/8in buttons, yarn needle, stitch markers
Needle Size: 1(US) 2.5mm & 2(US) 3mm straight needles
Gauge (tension): 32sts & 40 rows to make 10cm square, using size 2(US) 3mm needles
Chest Measurement: 55, 57, (59, 61) 63, 66 (69, 72) 75, 78 (81, 84) cm
METHOD
This pattern is for a drop sleeve style that is worked flat from the bottom up with 10cm of ease.

WHEAT LACE PATTERN
Row 1 – k5, k2tog, k3, yo, k1, yo, ssk, k1
Row 2 – purl across
Row 3 – k4, k2tog, k4, yo, k1, yo, ssk, k1
Row 4 – purl across
Row 5 – k3, k2tog, k5, yo, k1, yo, ssk, k1
Row 6 – purl across
Row 7 – k2, k2tog, k6, yo, k1, yo, ssk, k1
Row 8 – purl across
Row 9 – k2, k2tog, yo, k1, yo, k3, ssk, k4
Row 10 – purl across
Row 11 – k2, k2tog, yo, k1, yo, k4, ssk, k3
Row 12 – purl across
Row 13 – k2, k2tog, yo, k1, yo, k5, ssk, k2
Row 14 – purl across
Row 15 – k2, k2tog, yo, k1, yo, k6, ssk, k1
Row 16 – purl across
Note: when increasing or decreasing be sure there is a decrease for every increase so your stitch counts remain correct

Youth Wheat Cardigan Pattern
BACK
Cast on 106, 110 (112, 116) 118, 124 (128, 134) 138, 142 (148, 152) sts using the smaller circular needles
Work 2.5, 2.5 (3, 3) 3, 3 (3, 3) 3, 3 (3, 3) cms of (k1, p1) rib.
Switch to larger size circular needles.
Start your lace pattern as follows:
knit 4, 6 (7, 2) 3, 6 (1, 4) 6, 1 (4, 6) sts, work in lace pattern until you have 4, 6 (7, 2) 3, 6 (1, 4) 6, 1 (4, 6) sts remaining, knit across.
Work in lace pattern until your work measures 24, 24 (25.5, 27) 28.5, 30 (31, 32) 33.5, 35 (36, 37.5) cm measured from the cast-on edge. Place markers on each end of the row to mark armhole.
Continue working in pattern until work measures 36, 37 (39, 41) 43, 45 (47, 49) 51, 53, (55, 57) cms from cast on edge ending after completing a wrong side row.
SHOULDERS
Bind off 8, 9 (9, 10) 10, 10 (11, 11) 12, 12 (13, 13) sts at the beginning of the next 2 rows.
Bind off 8, 9 (9, 10) 10, 10 (11, 11) 12, 12 (13, 13) sts at the beginning of the next row, work 14, 14 (14, 14) 14, 16 (15, 17) 16, 18 (18, 19) sts put remaining sts on a stitch holder or spare yarn
Turn and bind off 5sts, work to the end of the row.
Turn and bind off remaining 10, 10 (10, 10) 10, 12 (11, 13) 12, 14 (14, 15) sts
With right side facing, rejoin yarn to the sts on the stitch holder/spare yarn, bind off 44, 39 (46, 46) 48, 52 (52, 54) 56, 56 (58, 60) sts, work remaining 23, 24 (24, 25) 25, 27 (27, 29) 29, 31 (32, 33) sts.
Bind off 8, 9 (9, 10) 10, 10 (11, 11) 12, 12 (13, 13) sts, work to the end of the row.
Turn and bind off 5sts, work to the end of the row.
Turn and bind off remaining 10, 10 (10, 10) 10, 12 (11, 13) 12, 14 (14, 15) sts
LEFT FRONT
Cast on 51, 53, (54, 56) 57, 60 (62, 65) 67, 70 (72, 74) sts using smaller needle
Work 2.5, 2.5 (3, 3) 3, 3 (3, 3) 3, 3 (3, 3) cms of (k1, p1) rib.
Switch to larger size circular needles.
Start your lace pattern as follows:
knit 5, 6 (6, 0) 1, 2 (3, 5) 6, 0 (1, 2) sts, work in lace pattern until you have 4, 5 (6, 0) 0, 2 (3, 4) 5, 0 (1, 2) sts remaining, knit across.
Work in lace pattern until your work measures 24, 24 (25.5, 27) 28.5, 30 (31, 32) 33.5, 35 (36, 37.5) cm measured from the cast-on edge. Place markers on the left end of the row to mark armhole.
Continue working in pattern until work measures 31, 31.5 (33.5, 35) 37, 39 (41, 42.5) 44.5, 46 (48, 50) cms from cast on edge ending after completing a right-side row.
NECK
Next row – Bind off 14, 14 (15, 15) 15, 16 (17, 17) 18, 18 (18, 19) sts, work to end of row [37, 39 (39, 41) 42, 44 (45, 48) 49, 51 (54, 55) sts]
Decrease 1 sts at the neck edge of the next 6, 6 (6, 6) 7, 7 (7, 7) 7, 7 (8, 8) rows. [31, 33 (33, 35) 35, 37 (38, 41) 42, 44 (46, 47) sts]
Decrease 1 sts at neck edge every right-side row 5, 5 (5, 5) 5, 5 (5, 6) 6, 6 (6, 6) times [26, 28 (28, 30) 30, 32 (33, 35) 36, 38 (40, 41) sts]
Continue in pattern until work measures 36, 37 (39, 41) 43, 45 (47, 49) 51, 53 (55, 57) cms from cast on edge, ending after completing a wrong side row
SHOULDERS
Bind off 8, 9 (9, 10) 10, 10 (11, 11) 12, 12 (13, 13) sts, work to end of row
Work the next row without shaping
Bind off 8, 9 (9, 10) 10, 10 (11, 11) 12, 12 (13, 13) sts, work to end of row
Work the next row without shaping
Bind off remaining 10, 10 (10, 10) 10, 12 (11, 13) 12, 14 (14, 15) sts
RIGHT FRONT
Cast on 51, 53 (54, 56) 57, 60 (62, 65) 67, 70 (72, 74) sts using smaller needle
Work 2.5, 2.5 (3, 3) 3, 3 (3, 3) 3, 3 (3, 3) cms of (k1, p1) rib.
Switch to larger size circular needles.
Start your lace pattern as follows:
knit 4, 5 (6, 0) 0, 2 (3, 4) 5, 0 (1, 2) sts, work in lace pattern until you have 5, 6 (6, 0) 1, 2 (3, 5) 6, 0 (1, 2) sts remaining, knit across.
Work in lace pattern until your work measures 24, 24 (25.5, 27) 28.5, 30 (31, 32) 33.5, 35 (36, 37.5) cm measured from the cast-on edge. Place markers on the right end of the row to mark armhole.
Continue working in pattern until work measures 31, 31.5 (33.5, 35) 37, 39 (41, 42.5) 44.5, 46 (48, 50) cms from cast on edge, ending after completing a wrong side row.
NECK
Next row – Bind off 14, 14 (15, 15) 15, 16 (17, 17) 18, 18 (18, 19) sts, work to end of row [37, 39 (39, 41) 42, 44 (45, 48) 49, 51 (54, 55) sts]
Decrease 1 sts at the neck edge of the next 6, 6 (6, 6) 7, 7 (7, 7) 7, 7 (8, 8) rows. [31, 33 (33, 35) 35, 37 (38, 41) 42, 44 (46, 47) sts]
Decrease 1 sts at neck edge every right-side row 5, 5 (5, 5) 5, 5 (5, 6) 6, 6 (6, 6) times [26, 28 (28, 30) 30, 32 (33, 35) 36, 38 (40, 41) sts]
Continue in pattern until work measures 36, 37 (39, 41) 43, 45 (47, 49) 51, 53 (55, 57) cms from cast on edge ending after completing a right-side row.
SHOULDERS
Bind off 8, 9 (9, 10) 10, 10 (11, 11) 12, 12 (13, 13) sts, work to end of row
Work the next row without shaping
Bind off 8, 9 (9, 10) 10, 10 (11, 11) 12, 12 (13, 13) sts, work to end of row
Work the next row without shaping
Bind off remaining 10, 10 (10, 10) 10, 12 (11, 13) 12, 14 (14, 15) sts
SLEEVES (MAKE 2)
Cast on now 52, 54 (54, 56) 62, 64 (64, 64) 66, 66 (68, 68) sts on smaller needles and join in the round and place beginning of round marker.
Work 2.5, 2.5 (3, 3) 3, 3 (3, 3) 3, 3 (3, 3) cms of (k1, p1) rib.
Switch to larger size circular needles
Start the lace pattern as follows:
Knit 5, 6 (6, 0) 3, 4 (4, 4) 5, 5 (6, 6) work lace pattern to last 5, 6 (6, 0) 3, 4 (4, 4) 5, 5 (6, 6) knit across
Work 3 more rows in lace pattern.
Next row: inc 1 sts on each side every 4th row 17, 18 (20, 21) 14, 15 (22, 25) 25, 28 (30, 33) times, then inc 1 st on each side every 6th row 0, 0 (0, 0) 6, 6 (2, 1) 2, 1 (0, 0) times . [86, 90 (94, 98) 102, 106 (112, 116) 120, 124 (130, 134) sts]
Continue working in lace pattern until work measures 24, 26.5 (28, 29) 28, 29.5 (31.5, 33) 34.5, 38 (39, 40.5) cms from cast on edge. Bind of all stitches.
NECK
Join both shoulder seams, using yarn on a tapestry/yarn needle.
With right side facing and smaller needles pick up and knit 14, 14 (15, 15) 15, 16 (17, 17) 18, 18 (18, 19) sts along right from bind off edge, 20, 22 (22, 22) 22, 24 (24, 25) 25, 27 (27, 27) sts up right front of neck, 54, 54 (56, 56) 58, 60 (62, 64) 66, 66 (68, 70) sts from back neck, 20, 22 (22, 22) 22, 24 (24, 25) 25, 27 (27, 27) sts up left front and side of neck, 14, 14 (15, 15) 15, 16 (17, 17) 18, 18 (18, 19) sts along left from bind off edge. [122, 126 (130, 130) 132, 140 (144, 148) 152, 156 (158, 162) sts]
Work 2, 2 (2.5, 2.5) 2.5, 2.5 (2.5, 2.5) 2.5, 2.5 (2.5, 2.5) cms of (k1, p1) rib.
Bind off all sts in pattern.
FRONT RIB EDGES
LEFT FRONT EDGE
Pick up and knit 109, 115 (121, 126) 133, 140 (147, 154) 159, 167 (169, 178) sts along the edge with the smaller sized circular needles.
Work 10 rows of rib (k1, p1).
Bind off in established rib pattern.
RIGHT FRONT EDGE
Pick up and knit 109, 115 (121, 126) 133, 140 (147, 154) 159, 167 (169, 178) sts along the edge with the smaller sized circular needles.
Work 4 rows in k1p1 ribbing
Buttonhole row: Work 2sts in established rib pattern, k2tog yo, *work 15, 16 (15, 16) 17, 17 (18, 19) 17, 18 (16, 17) sts in established rib pattern, work k2tog, yarn over*, repeat from * to * to the last 3 sts, work 3 sts in rib.
Work 4 rows in k1p1 ribbing
Bind off in established rib pattern.
FINISHING
Sew the sleeves on, side seams and sleeve seams. I prefer to use the mattress stitch because it almost appears seamless. Weave in all ends. Sew the 6 buttons on along the left front edge across from the buttonholes
Abbreviations
ABBREVIATIONS
K – knit
P – purl
PM – place marker
SM – slip marker
K2tog -knit 2 stitches together
YO – yarn over
SSK – slip, slip, knit the slipped sts together
M1R – Insert the left needle under the strand that runs between two stitches from back to front, then knit this strand
M1L – Insert the left needle under the strand that runs between two stitches from front to back, then knit this strand through the back loop

If you’re ready to cast on, scroll down and grab the pattern details below. And tell me in the comments—are you knitting this for everyday wear or something a little more dressed up? I love hearing how you plan to style your knits!
Some links in this post are affiliate links. This means I may earn a small commission at no extra cost to you if you make a purchase through these links.