
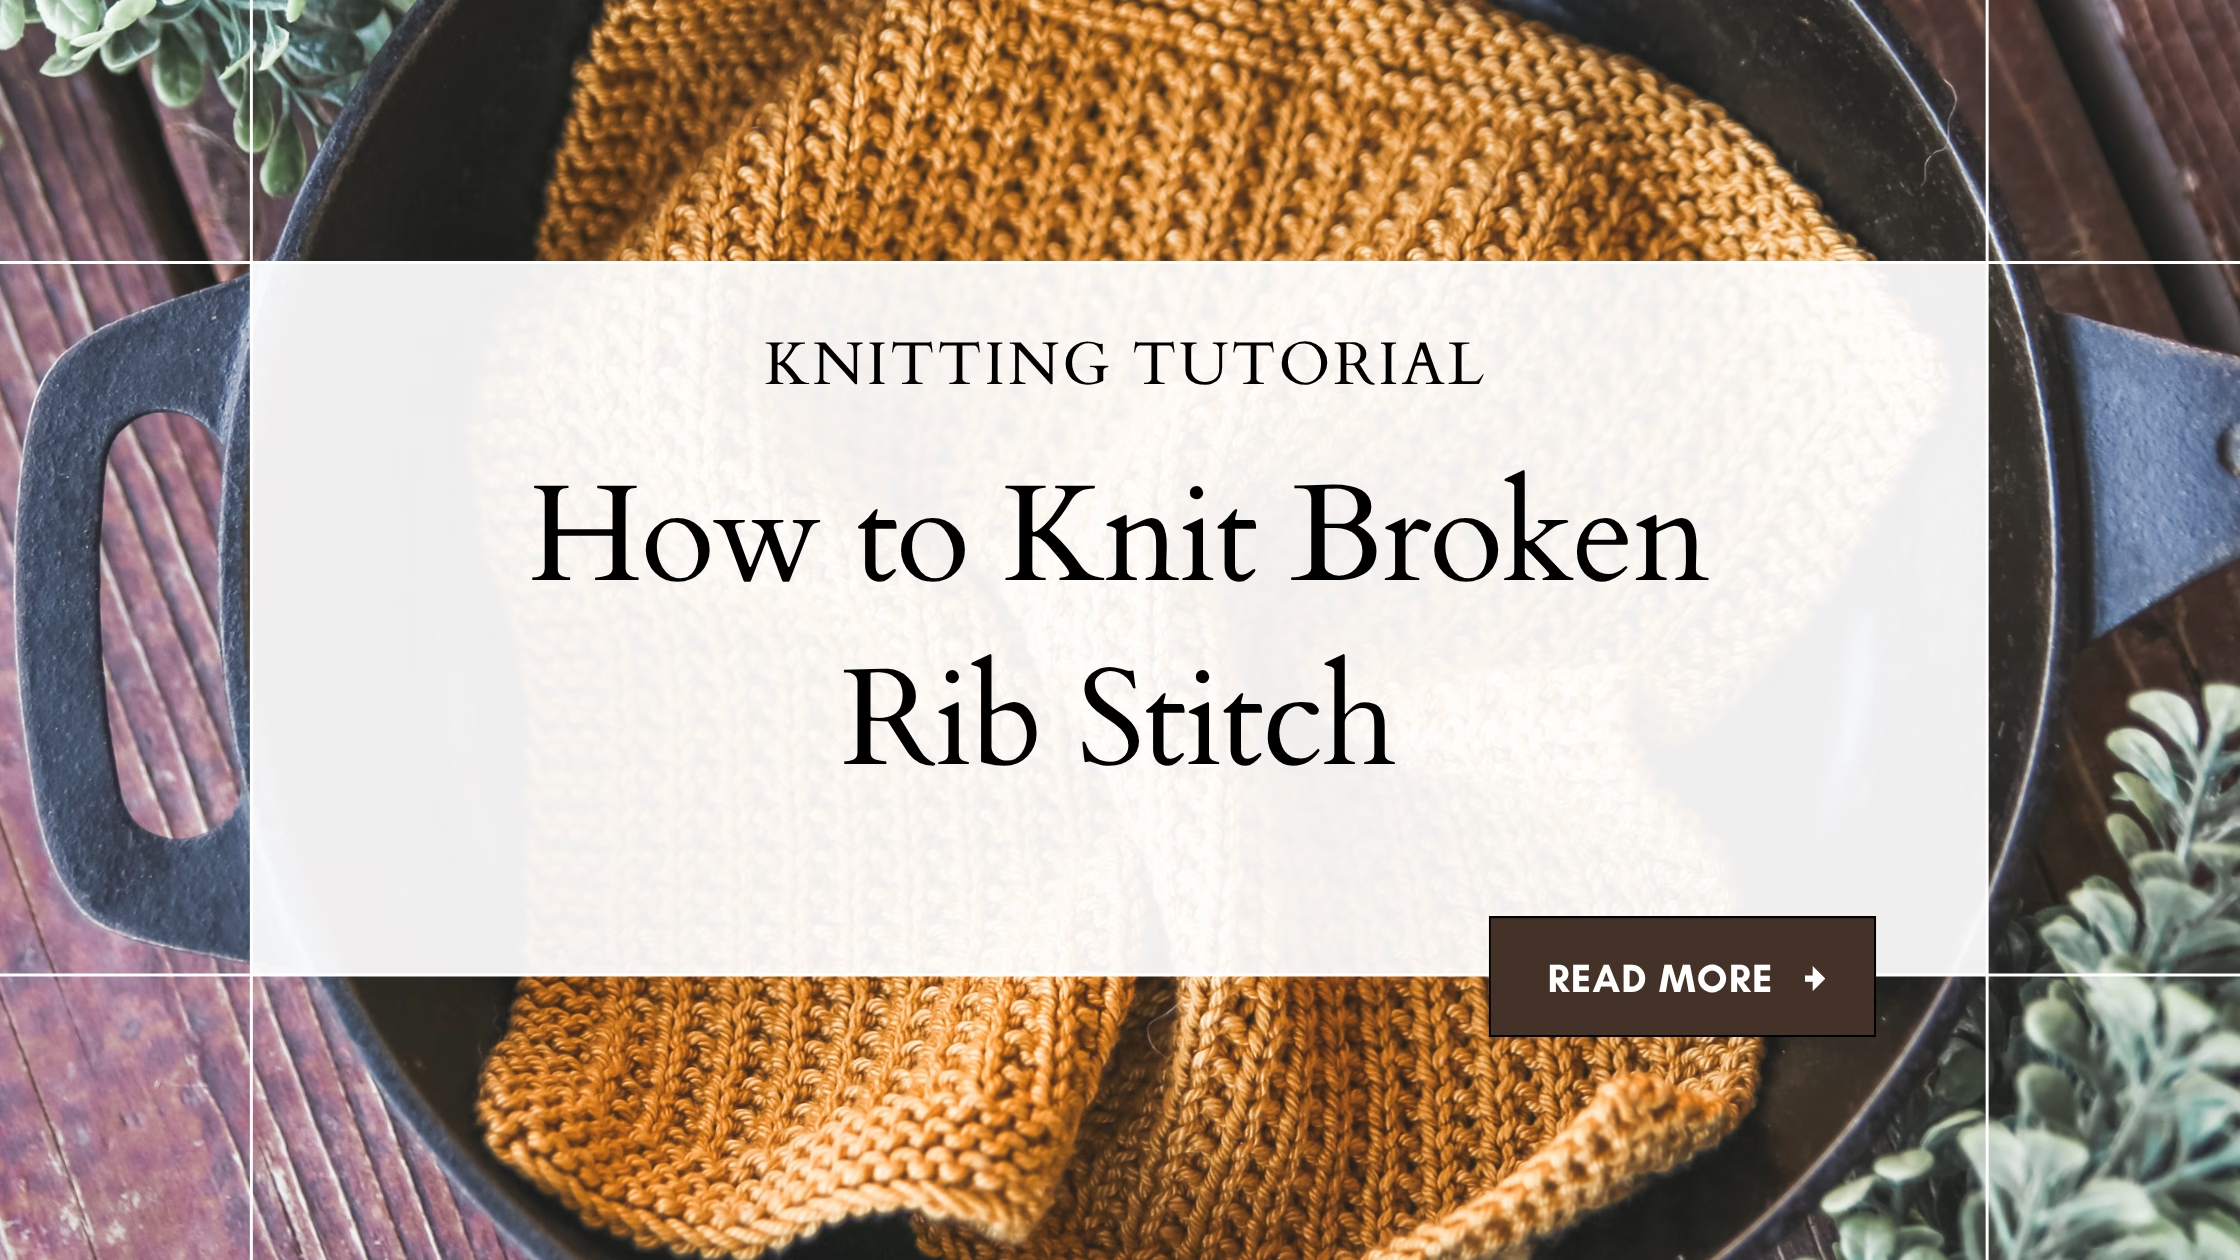
Learning how to knit broken rib stitch is a simple way to add texture to your knitting while using only knit and purl stitches, making it a helpful tutorial to use alongside my collection of free knitting tutorials. Broken rib is one of those stitch patterns that looks a little more detailed than plain stockinette or basic ribbing, but it is still easy enough for newer knitters to practice.
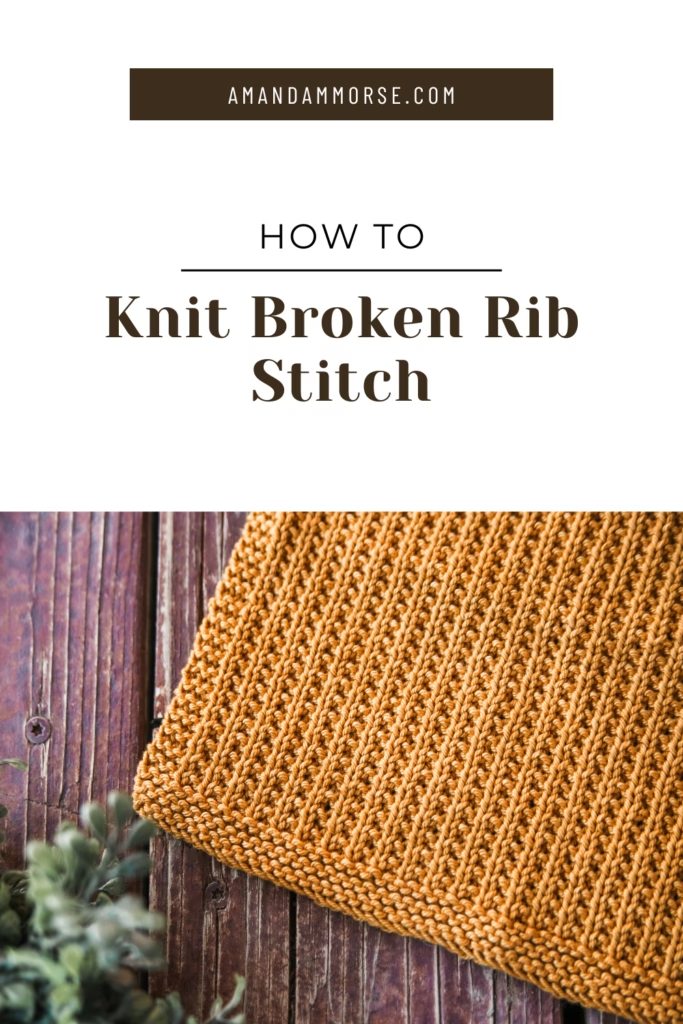
If you have ever wanted a textured stitch that is simple to memorize, lays nicely in everyday projects, and works well for both small and larger knits, this tutorial will walk you through the broken rib stitch step by step. You will learn what makes the stitch pattern different from regular ribbing, why the texture shows up so clearly, and how to use it in dishcloths, scarves, hats, socks, and sweaters.
If you’re ready to use this stitch in a project, my Judah Headband is a quick broken rib headband knitting pattern that lets you practice the repeat while making something wearable.
Broken rib stitch is a great choice when you want a project to have a little more interest without adding lace, cables, shaping, or complicated stitch counts. It uses a simple combination of knit rows and ribbed rows to create a bumpy, textured fabric that still feels clean and classic.
Once you understand the repeat, it becomes an easy stitch pattern to use again and again. It is especially nice for projects where you want texture on the front of the work but do not want to follow a long chart or count a lot of rows.
What Is Broken Rib Stitch?
Broken rib stitch is a knit-and-purl stitch pattern that looks similar to ribbing, but the ribbed columns are interrupted by rows of plain knitting. That little change is what gives the fabric its textured look and keeps it from pulling in as tightly as regular 1×1 ribbing.
In a basic broken rib stitch pattern, one row is usually worked in knit stitches, and the next row is worked in a knit 1, purl 1 repeat. Those two rows are repeated over and over to create the finished texture.
Because the repeat is so simple, broken rib is a helpful stitch for beginners who already know how to knit and purl but want to practice switching between the two. It is also a nice option for experienced knitters who want an easy, relaxing project with a little more texture than plain knitting.

Broken rib stitch can be worked flat or in the round, but the directions will look slightly different depending on the project. A dishcloth, scarf, or sweater panel may be worked back and forth in rows, while a hat or sock is often worked in the round.
The important thing to remember is that broken rib gets its texture from alternating plain knit sections with ribbed sections. Once you can recognize that rhythm, it becomes much easier to read your knitting and keep the pattern going.
What Do You Need to Knit Broken Rib Stitch?
To learn how to knit broken rib stitch, you only need yarn, knitting needles, and the ability to work knit and purl stitches. You do not need a cable needle, stitch markers, special tools, or complicated pattern notes for the basic version.
A smooth yarn is usually the easiest choice when you are first practicing broken rib. Cotton yarn like KnitPicks Dishie works well for dishcloths because it shows the stitch definition and creates a useful finished cloth. Wool and wool blends are nice for hats, scarves, socks, and sweaters because they add warmth and give the texture a little more bounce.
For practice, choose a light or medium-colored yarn so you can see the knit and purl stitches clearly. Very dark yarns, fuzzy yarns, or highly variegated yarns can make it harder to see the texture when you are learning.

The needle size will depend on the yarn and project you are making. For a dishcloth, you might use cotton yarn with a smaller needle for a sturdy fabric. For a scarf or sweater, you may want a softer drape. For a hat or socks, you will usually want a fabric that feels stretchy enough to wear comfortably.
If you are using broken rib stitch in a pattern, follow the needle size listed in that pattern first. If you are making your own project, knitting a small swatch can help you decide whether you like the texture, stretch, and fabric before starting the full piece.
How Do You Knit Broken Rib Stitch?
The broken rib stitch repeat is very simple. When worked flat, the most common version uses one row of knit stitches followed by one row of knit 1, purl 1 ribbing.
For an even number of stitches, you can work it like this:
Row 1: Knit all stitches.
Row 2: *Knit 1, purl 1; repeat from * across.
Repeat Rows 1 and 2 for the pattern.
That is the basic broken rib stitch. The knit row helps break up the ribbing, while the knit 1, purl 1 row creates the raised texture. When you repeat those two rows, the fabric begins to form a simple textured pattern that works well for many different projects.

If you are working broken rib stitch in the round, the repeat may be adjusted so the texture appears correctly on the outside of the project. Always check the pattern directions when knitting in the round, especially for hats, socks, and cowls.
One helpful tip is to look at your stitches as you work. Knit stitches look like little V shapes, while purl stitches look like small bumps. Learning to read those stitches will help you catch mistakes sooner and keep your broken rib texture looking neat.
Why Does Broken Rib Stitch Create So Much Texture?
Broken rib stitch creates texture because it combines smooth knit rows with rows that alternate knits and purls. The purl stitches push forward slightly, while the knit stitches sit flatter, which creates a raised, bumpy look across the fabric.
Regular ribbing usually pulls in and stretches because the knit and purl columns stack on top of each other. Broken rib does not behave exactly the same way because the plain knit rows interrupt those columns. That makes the fabric look textured without becoming as stretchy or narrow as traditional ribbing.
This is why broken rib is such a useful stitch pattern for dishcloths, scarves, hats, socks, and sweaters. It adds interest without being difficult, and it gives the finished piece a clean texture that is easy to wear or use.
The stitch also looks nice in both small and large projects. A dishcloth gives you a quick way to practice the repeat, while a sweater or cardigan lets the texture become part of the overall design.
What Can You Make with Broken Rib Stitch?
Broken rib stitch can be used in many different knitting projects because it is simple, textured, and easy to repeat. It works especially well when you want a project to feel classic but not completely plain.
Here are a few broken rib and Judah-inspired patterns to try:
• Judah Dishcloth
• Judah Scarf
• Judah Ankle Socks
• Judah Hat
• Youth Judah Zipped Cardigan
These patterns are a great way to see how one simple texture can be used across different kinds of projects. A dishcloth is a nice small place to start, while a scarf lets you enjoy the repeat over a longer piece. Socks, hats, and cardigans show how broken rib can work in accessories and garments too.
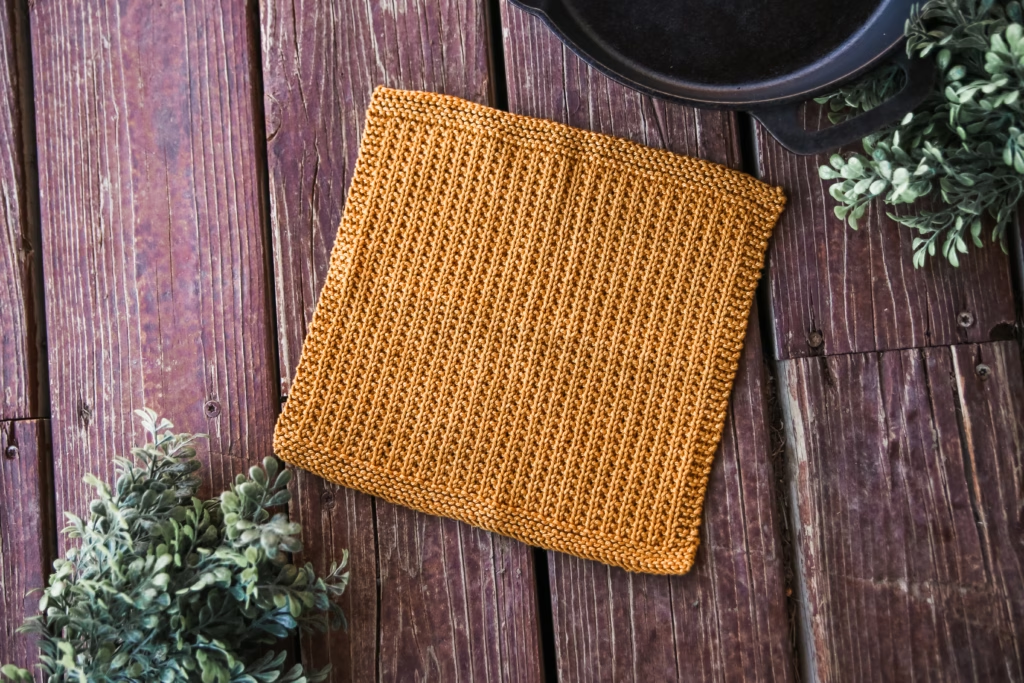
Broken rib stitch is also a good option when you are knitting gifts because it has enough texture to look thoughtful without making the project overly complicated. It works for everyday pieces, baby and child knits, kitchen projects, cold-weather accessories, and simple wardrobe staples.

Once you learn how to knit broken rib stitch, you may find yourself reaching for it often. It is easy to memorize, simple to adjust, and useful for so many projects.
Have you tried broken rib stitch before, or are you planning to use it for your next dishcloth, hat, scarf, socks, or sweater? Let me know in the comments what you are knitting next.
This post may contain affiliate links. If you make a purchase through one of my links, I may earn a small commission at no extra cost to you.