
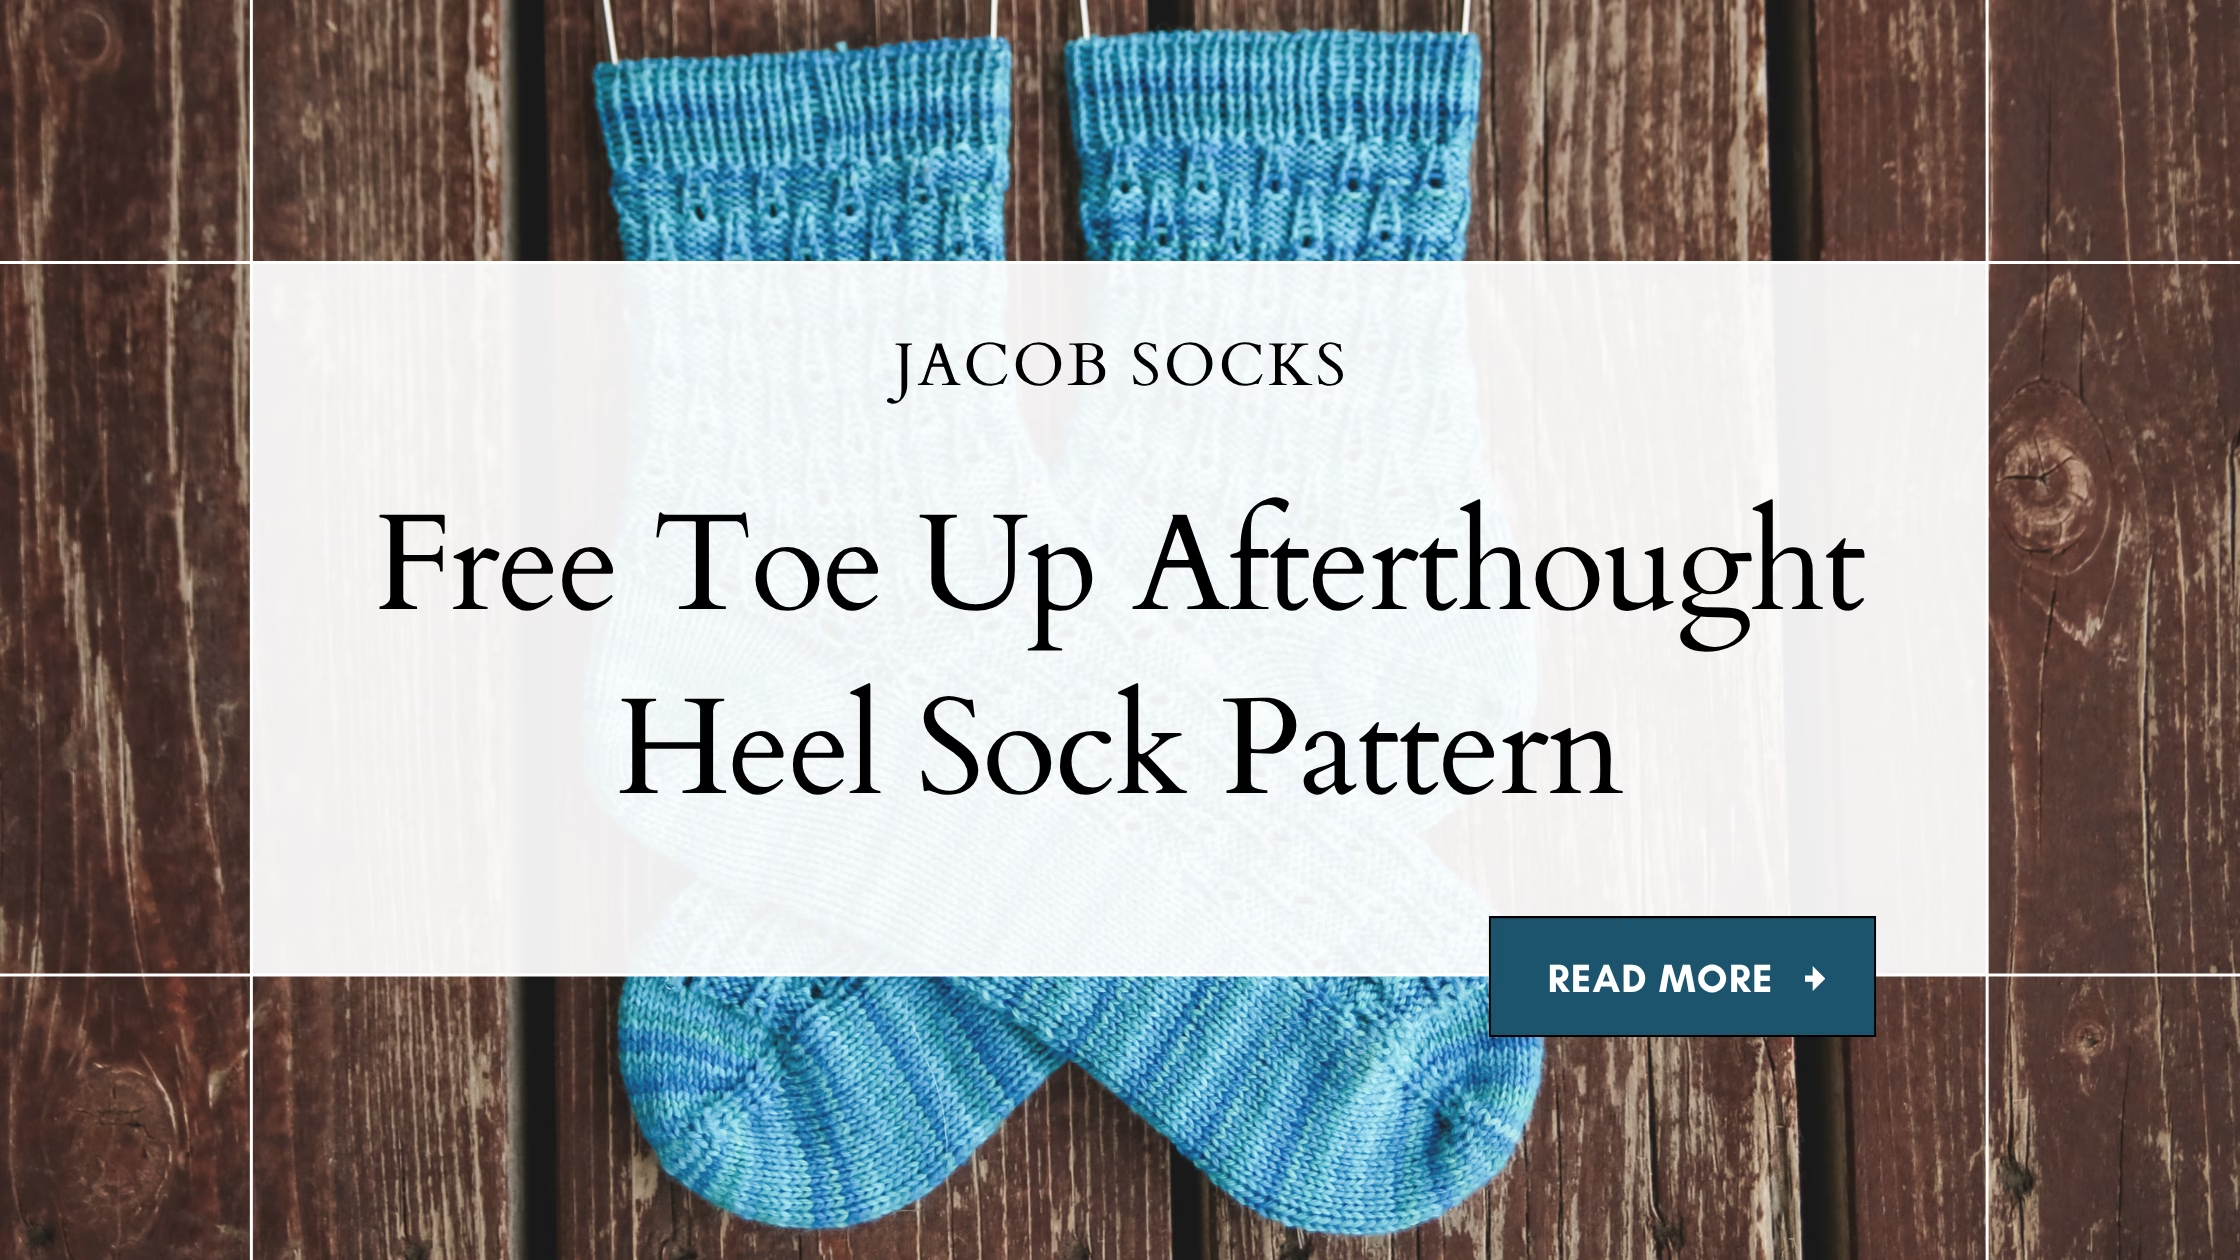
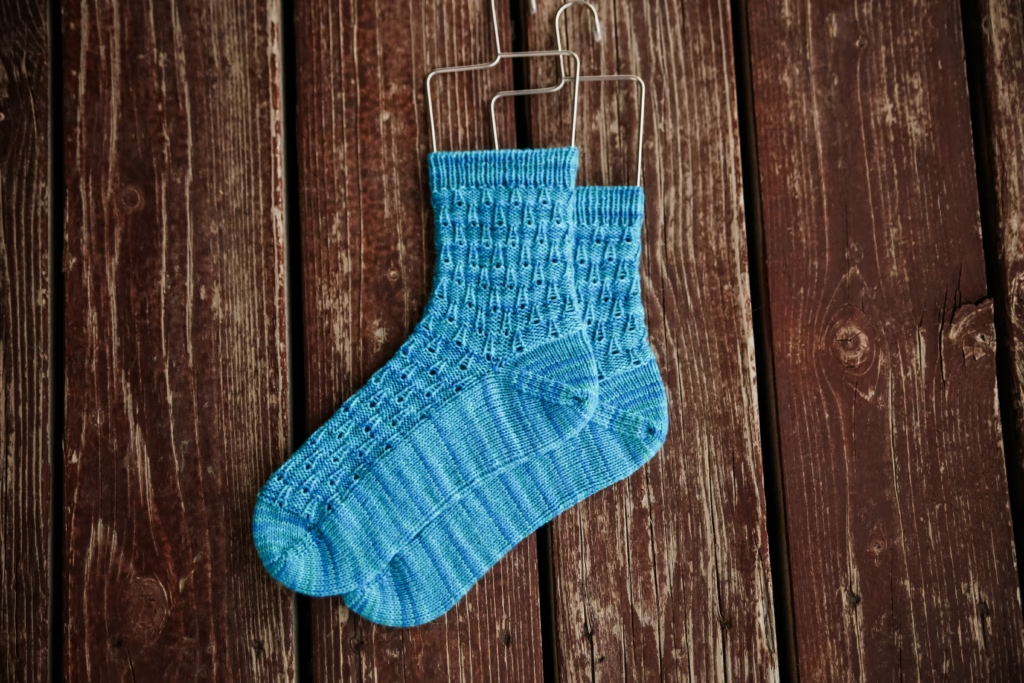
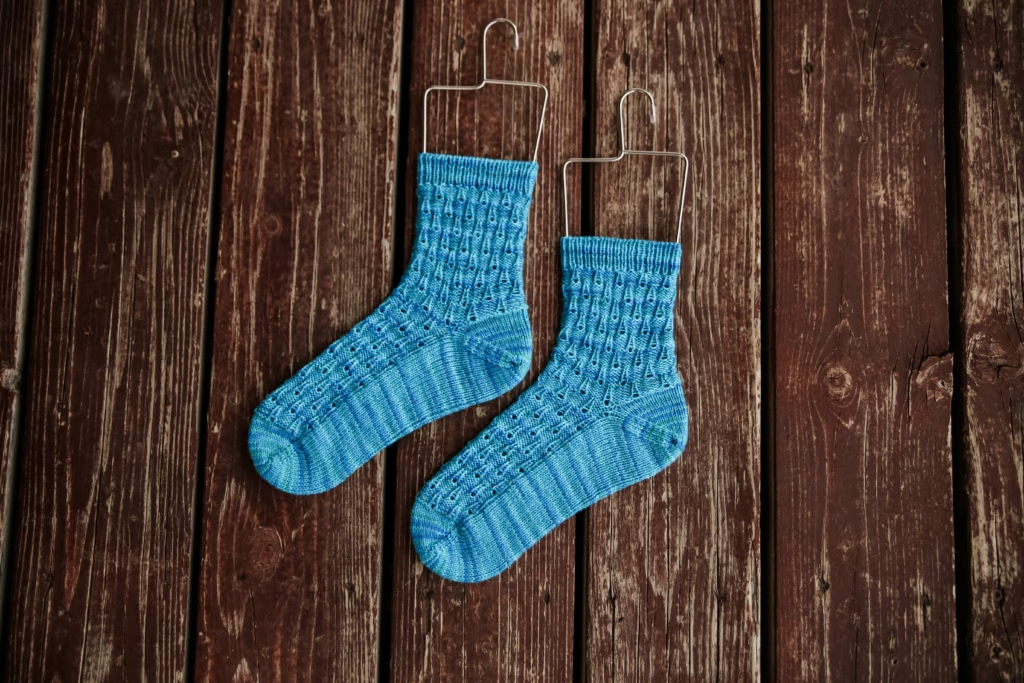
If you have been looking for a toe up afterthought heel sock pattern that is fun to knit and easy to customize for your feet, the Jacob Socks are ready for your needles! This free sock pattern starts at the toes, works upward toward the cuff, and saves the heel for later using an afterthought heel construction. If you love making hand-knit socks, be sure to visit my Free Sock Knitting Patterns page for even more cozy pairs to cast on next.
Working socks from the toe up is especially handy when you want to check the fit as you knit. You can customize the foot length before beginning the heel placement, then continue into the leg without worrying about whether your finished socks will be too short or too long.
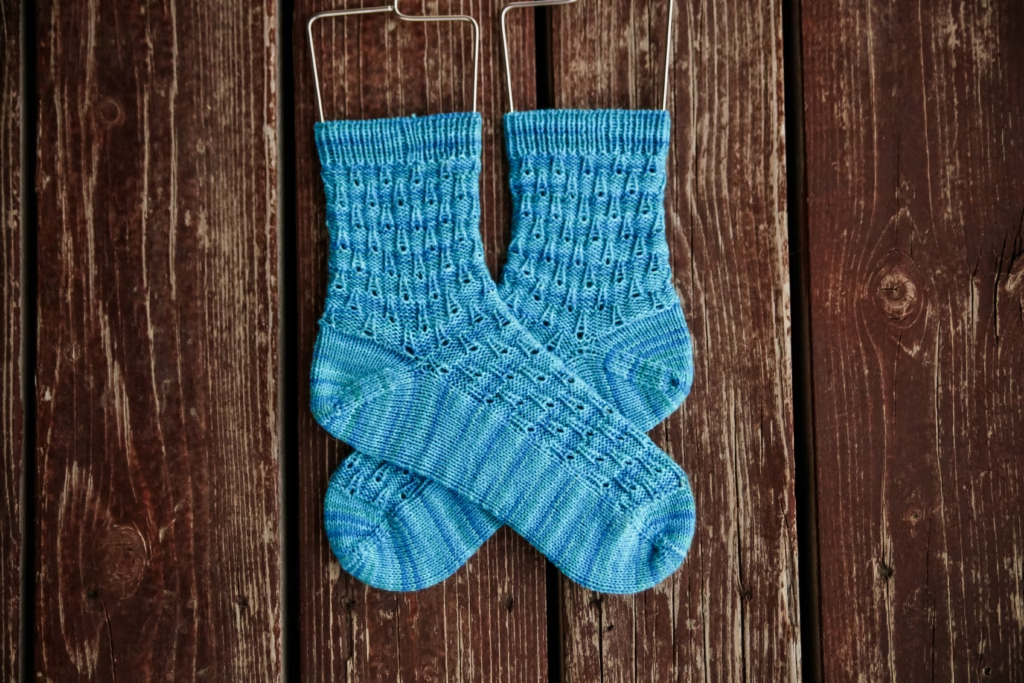
The Jacob Socks also feature a simple textured stitch pattern that looks like rows of tiny ladders climbing up the sock. It adds just enough interest to keep the knitting fun while still letting a beautiful sock yarn do plenty of the work.
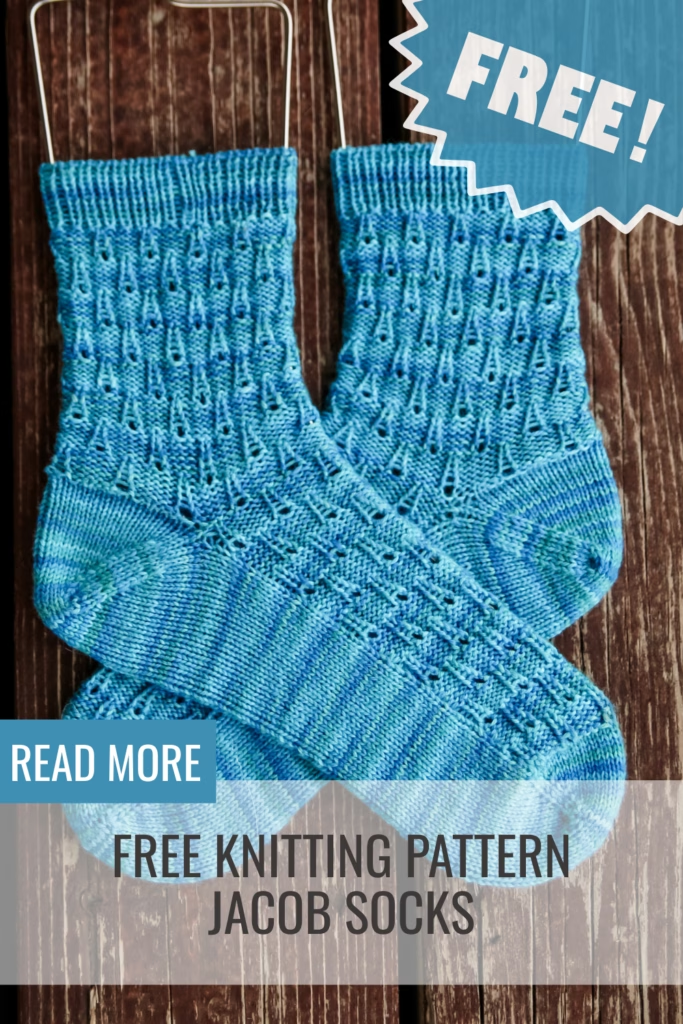
If you are newer to toe-up socks, don’t let the construction make you nervous. You will build these socks one section at a time, beginning with the toe and finishing with the cuff.
A few helpful techniques make the process especially smooth. My tutorials for [Judy’s Magic Cast On], [How To Measure Foot Length For Toe Up Socks], and [How to Knit an Afterthought Heel] will walk you through the key steps as you reach them.
What yarn and needles do you need for the Jacob Socks?
I knit my Jacob Socks with Knit Picks Stroll Effects and 2.25 mm needles. Sock yarn is a great match for this design because it creates a lightweight, comfortable fabric while allowing that little ladder-like stitch pattern to stay nicely defined.
The color changes in Stroll Effects also add extra personality without requiring you to change yarns throughout the project. As the colors shift, the textured stitches give the fabric even more movement.
As with any sock project, gauge matters because even a small change can affect the finished circumference and fit. Take a little time to check your knitting before you get too far into the first sock.
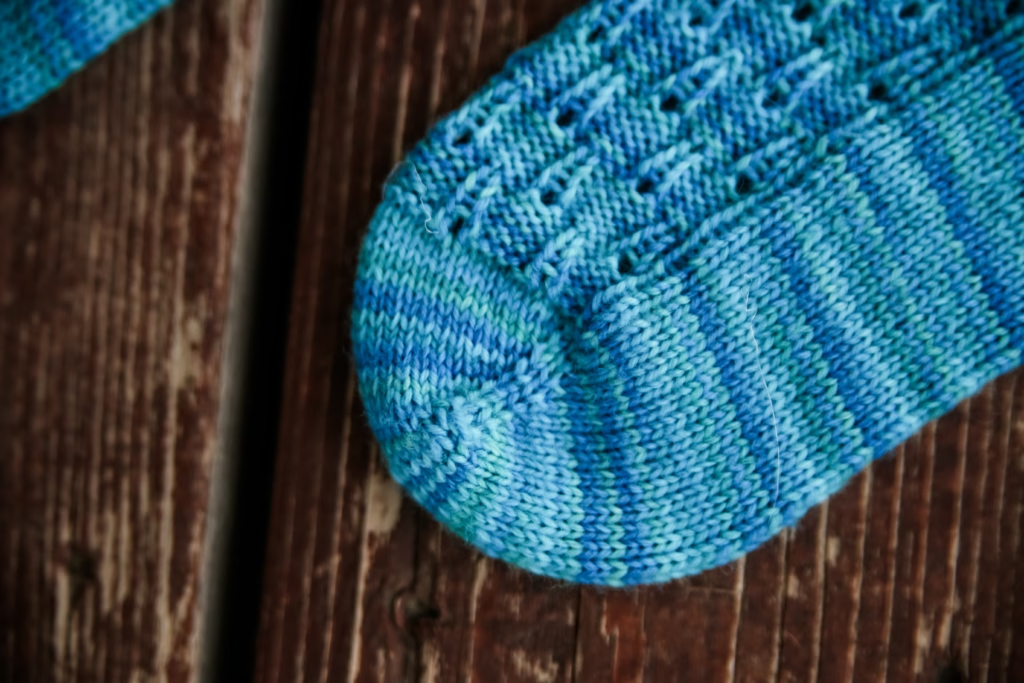
One of my favorite things about knitting socks from the toe upward is being able to try them on as I go. Once the toe is complete, you can quickly see how the sock is fitting and make adjustments before knitting the entire foot.
For the best fit, use my How To Measure Foot Length For Toe Up Socks tutorial before deciding exactly where your heel will go.
How do you knit toe-up socks with an afterthought heel?
The Jacob Socks begin at the toe using Judy’s Magic Cast On, which creates a smooth, seamless starting point. From there, you increase until you have the stitches needed for the foot and then continue knitting toward the heel placement.
Instead of shaping the heel while you knit the foot, an afterthought heel lets you continue on and return to the heel later. This construction keeps the main sock knitting wonderfully straightforward and works especially well when you want the stitch pattern to flow neatly through the leg.
When you are ready to add the heel, follow my How to Knit an Afterthought Heel tutorial for the complete process. You will pick up the heel stitches, open the heel area, and shape it separately after the rest of the sock has been knitted.
The little ladder stitch pattern gives the Jacob Socks their distinctive look without making the project overly complicated. Once you settle into the repeat, it becomes an enjoyable rhythm that is perfect for showing off a colorful yarn.
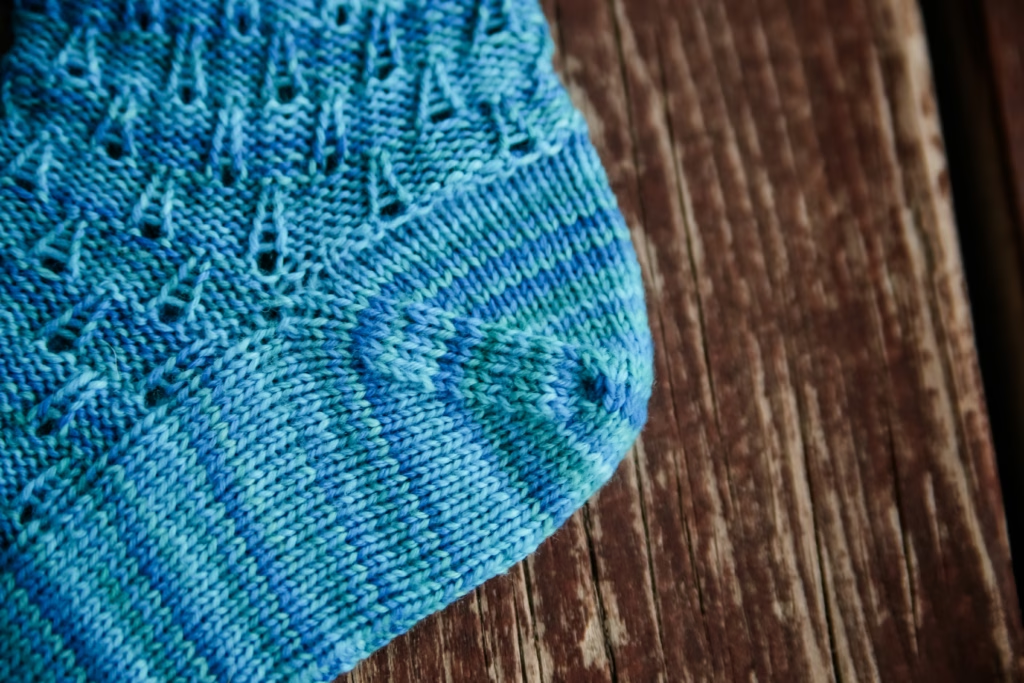
Be sure to measure the foot before you reach your heel placement. Toe-up construction gives you lots of control over length, but placing the heel correctly is what helps everything sit comfortably once the sock is finished.
After the heel placement is prepared, simply continue up the leg, work the cuff, bind off, and then return to complete that afterthought heel.
Looking for more free sock knitting patterns?
Once you have one pair of hand-knit socks on your needles, it is very easy to start planning the next pair! If you enjoy the Jacob Socks, you might also like these free sock knitting patterns:
These patterns give you several different ways to play with sock construction, texture, and yarn while adding more handmade pairs to your sock drawer.
The Jacob Socks are a great project when you want something more interesting than plain stockinette without committing to an overly complicated stitch pattern. Those tiny ladder details create plenty of texture, while the toe-up construction makes it easy to keep an eye on the fit.
And once you have tried this toe up afterthought heel sock pattern, you may discover that saving the heel until the end becomes one of your favorite ways to knit socks.
Jacob Socks Free Pattern
Materials:
Yarn: (250, 300), 350, 380, (400, 440) yards KnitPicks Stroll Effects
Needles: US #1 / 2.25mm DPNs (or circular for magic loop)
Notions: stitch markers, needle
Gauge: 8sts x 11Rounds per inch
sizing:
(baby, toddler) child, adult S, (M, L)
Finished measurements (unstretched):
Cuff (around): (5, 5.5) 6.5, 7.5, (8, 9)ins/(12.5, 14) 16, 19 (20, 22.5)cms
Foot Length (adjustable): (4, 6) 7.5, 9, (10, 11.25)ins/(10, 15) 19, 22.5) 25, 28)cms
Pattern Info:
This is a toe-up sock with an afterthought heel. The skills required for these are – Judy’s Magic Cast on (tutorial here), knit/purl, ssk (tutorial here), k2tog (tutorial here), M1R/M1L (tutorial here)
- Charted Stitch Pattern
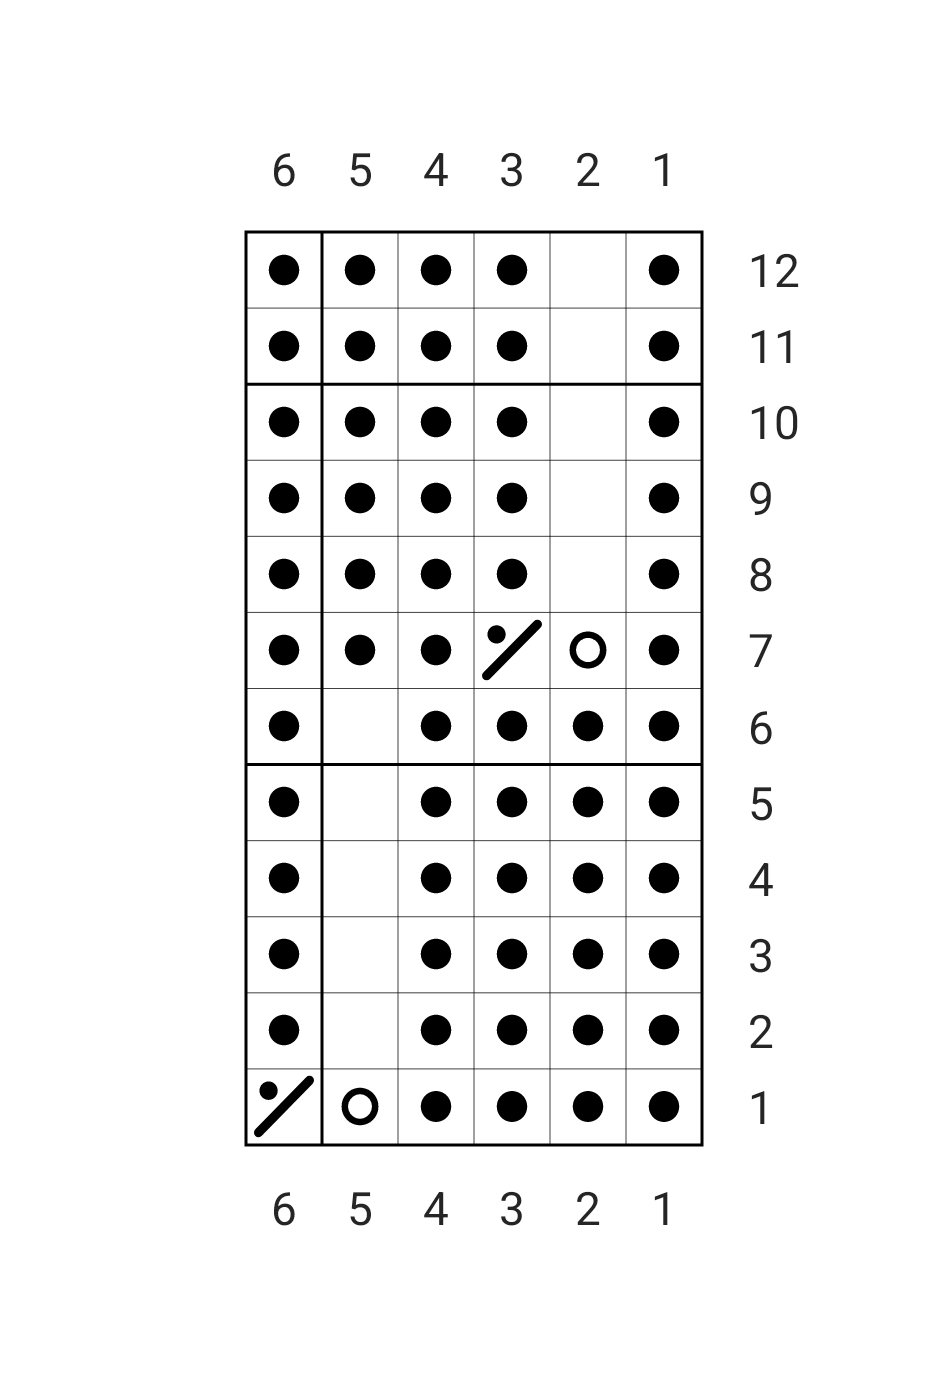
Round 1 – p4, yo, p2tog
Round 2 – p4, k1, p1
Round 3 – p4, k1, p1
Round 4 – p4, k1, p1
Round 5 – p4, k1, p1
Round 6 – p4, k1, p1
Round 7 – p1, yo, p2tog, p3
Round 8 – p1, k1, p4
Round 9 – p1, k1, p4
Round 10 – p1, k1, p4
Round 11 – p1, k1, p4
Round 12 – p1, k1, p4 - Toe
Cast on using Judy’s magic cast on (18, 20) 22, 24 (24, 24) sts
Round 1 – Knit around
Round 2 – k1, m1l, knit to 1 st before end of needle, m1r, k1, pm, repeat on second needle.
Repeat the above 2 rounds for (6, 7) 8, 9 (10, 12) until there are (42, 48) 54, 60 (66, 72) sts on your needles. Place
When using dpn: Needle 1 is the top of foot, needles 2&3 are the bottom of foot. I will be using this distribution of stitches for the remainder of the pattern for descriptive purposes. If you are using magic loop the markers are bor and end of top of foot. - Foot
Continue working in the round, working the top of foot in stitch chart pattern until the piece measures (2.5, 4.5) 6, 6.5, (7.5, 8.5)ins/(6, 11) 15, 16 (19, 21)cms from back of heel, or (1.5, 2) 2.25, 2.5, (2.75, 3)ins/(4, 5) 5.5, 6 (7, 7.5)cms short of desired foot length. The stitch pattern is worked over a multiple of 6 sts. For sizes baby, child and Adult M, work the 6 st repeat 3/4/5 times (respectively) across the top of the foot, then work the first 3 sts of the repeat one more time.
- Heel
Work across top of foot in pattern – (21, 24) 27, 30 (33, 36) sts. Cut yarn leaving enough to weave in ends.
With a spare yarn knit across bottom of foot – (21, 24) 27, 30 (33, 36) sts. Cut yarn.
Join main yarn again. - Leg
Work in established charted stitch chart pattern all the way around for (2, 2.75) 3.25, 4 (5, 6)ins/(5, 7) 8, 10 (12.5, 15)cms
- Cuff
Work in 1×1 rib (k1, p1) for (8, 8) 10, 12 (12, 14) rounds.
Bind off using your favorite stretchy bind off. I like to use a sewn or Italian bind off. You can always add a thread of elastic in the bind off to help it from getting stretched out from repeated use. - After Thought Heel
Pick up and knit (21, 24) 27, 30 (33, 36) sts from bottom of foot, pm, pick up and knit (21, 24) 27, 30 (33, 36) sts from bottom of ankle, pm (this is your bor marker).
Work in stockinette st (knit every round) for 6, 6) 6, 8 (8, 8) rounds.
Decrease round 1 – k1, ssk, knit to 3sts before marker, k2tog, k1, sm, k1, ssk, knit to 3sts before marker, k2tog, k1
Decrease round 2 – knit around sm as you get to them
Continue working decrease rounds 1 & 2 for a total of (6, 7) 8, 9 (10, 12) times until you have (18, 20) 22, 24 (24, 24)
Cut yarn leaving a 12” tail, then graft heel using Kitchener stitch.
Weave in all ends - Kitchener stitch:
Place half the stitches on one needle, half the stitches on the other needle, (top and bottom NOT side to side)
Cut yarn (leaving a long yarn tail) and thread through a blunt needle. Set-up steps: Insert needle purlwise (back to front) through the first st on front needle, leaving the st on the needle. Then insert needle knitwise (front to back) through the first st on the back needle, leaving the st on the needle.
Step 1: Insert needle knitwise through first st on front needle, then slip this st off the needle.
Step 2: Insert needle purlwise through the second st on front needle, leaving the st on the needle.
Step 3: Insert needle purlwise through first st on back needle, then drop this stitch off the needle.
Step 4: Insert needle knitwise through second st on back needle, leaving the st on the needle.
From this point to the end, repeat steps 1-4.
Kitchener stitch can be intimidating, but you get into a rhythm:
Front needle: knitwise drop off, purlwise leave on,
Back needle: purlwise drop off, knitwise leave on,
Repeat!
At the end of the Round, there is only 1 stitch left on each needle.
Work steps 1 and 3 once more. - ABBREVIATIONS
Bor – beginning of round
k – knit
k2tog -knit 2 stitches together
m1l – Insert the left needle under the strand that runs between two stitches from front to back, then knit this strand through the back loop
m1r – Insert the left needle under the strand that runs between two stitches from back to front, then knit this strand
P – purl
P2tog – purl the next 2 sts together
pm – place marker
ssk – slip next st knitwise, slip next st knitwise, place stitches back onto left needle, knit both slipped sts together
sm – slip maker
st – stitch
sts – stitches
yo – yarn over
Are you going to knit the Jacob Socks? Leave me a comment and tell me what yarn and colorway you are planning to use—I always love hearing about what is going onto your needles!
This post may contain affiliate links. If you make a purchase through one of these links, I may receive a small commission at no additional cost to you.