
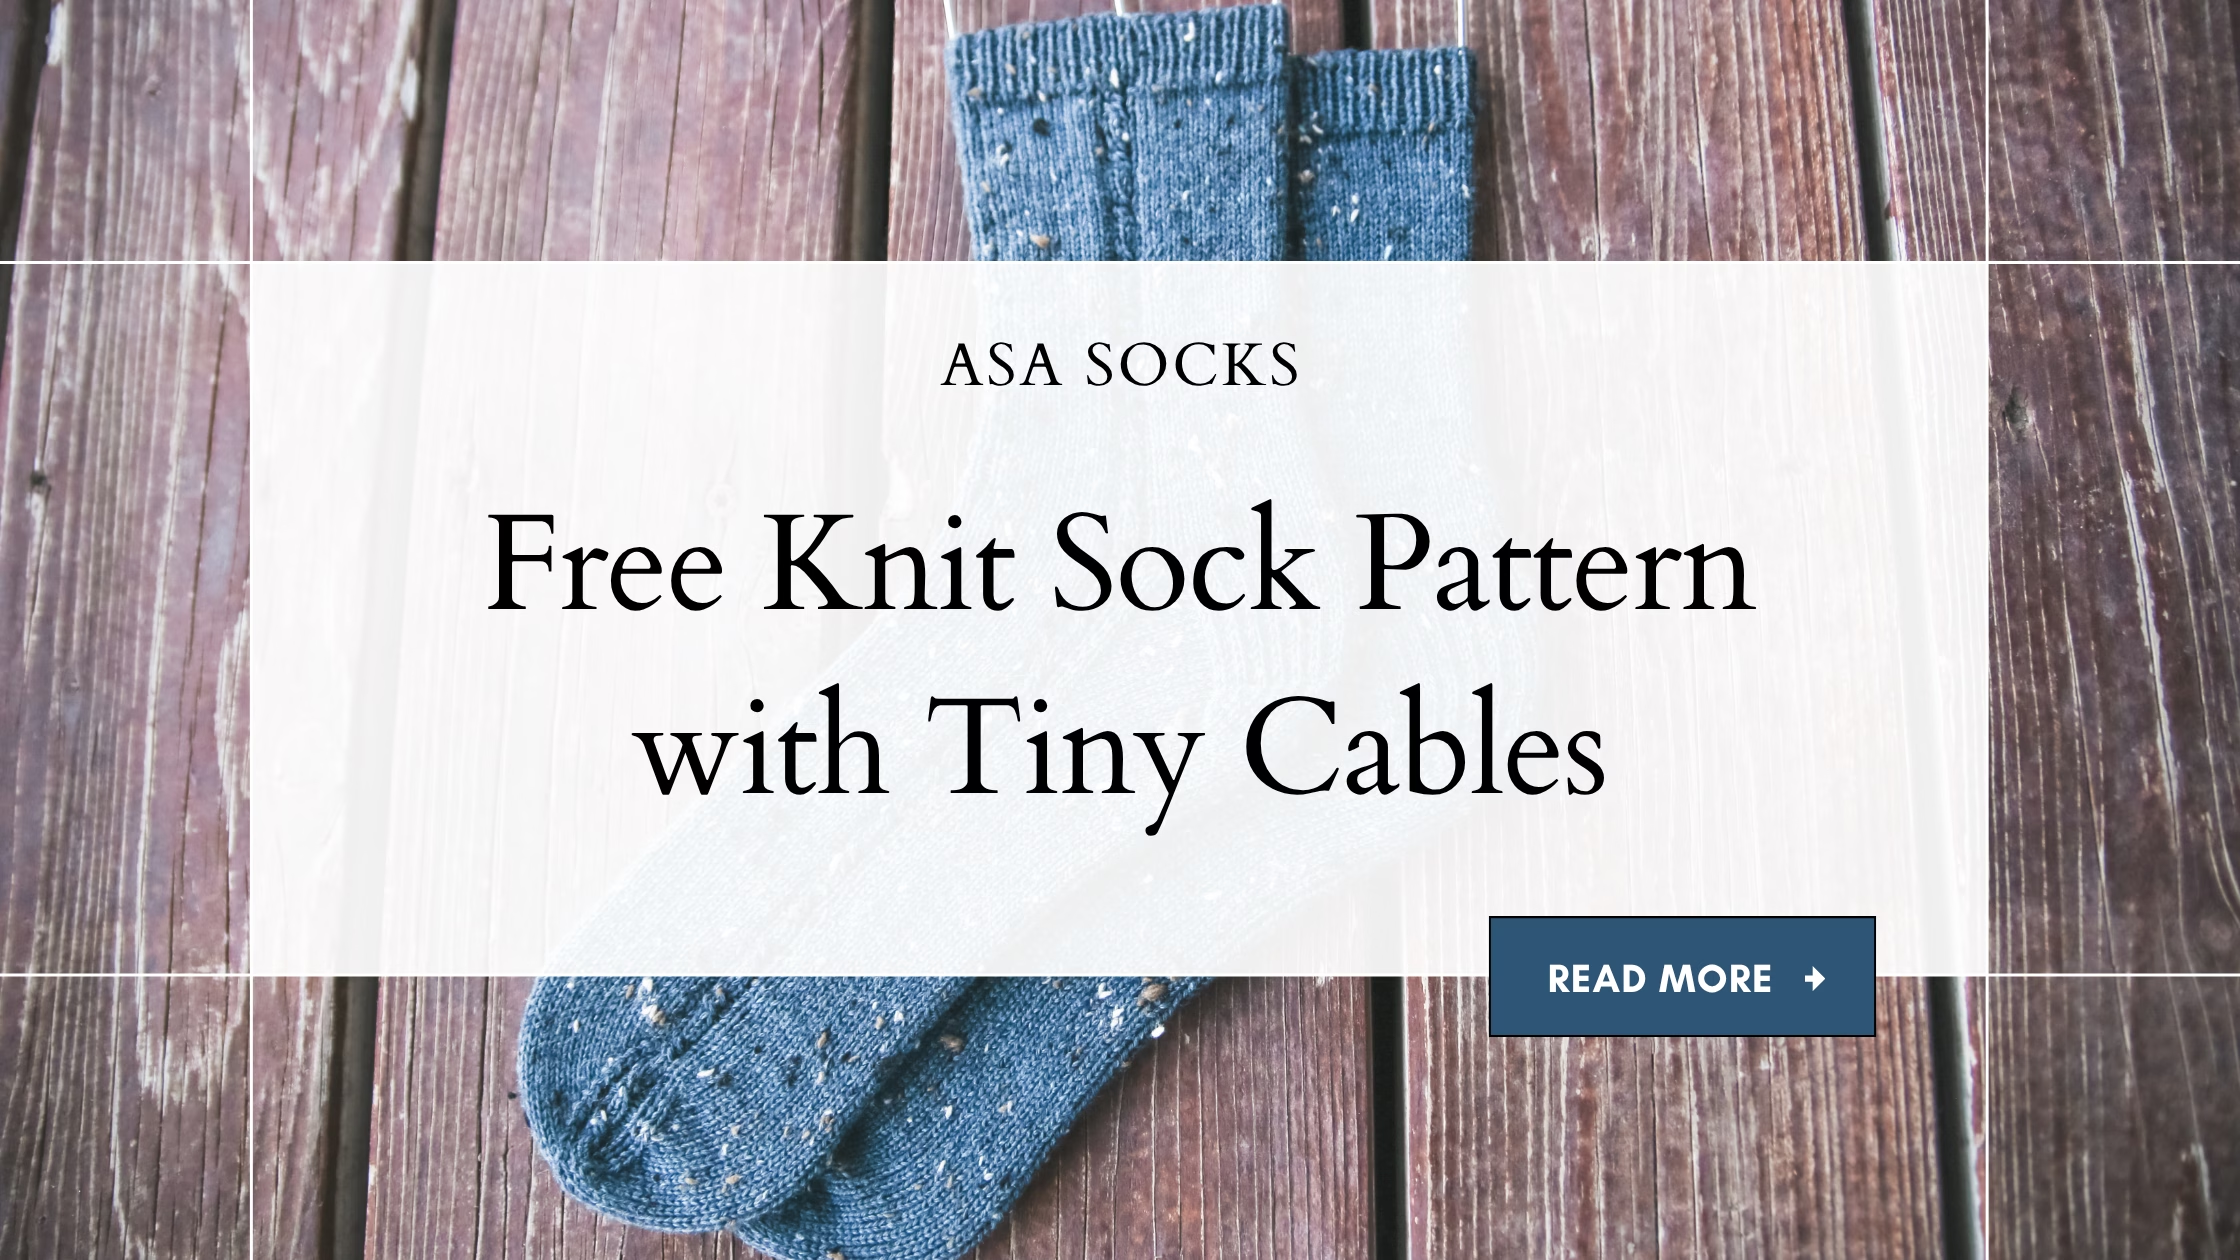
Looking for a free knit sock pattern with classic construction and just enough texture to keep things interesting? The Asa Socks are this week’s new free sock knitting pattern, featuring a traditional top-down design, a heel flap, and tiny cables that add a beautiful little detail without making the socks feel overly complicated.
If you loved the cables in the Asa Headband and Asa Beanie, you’ll recognize them here! This free knitted sock pattern carries that same cable motif all the way down into a cozy pair of socks you can make for nearly anyone. With instructions ranging from baby sizes through large adult, this is one of those patterns you can come back to whenever you need a handmade pair of socks.
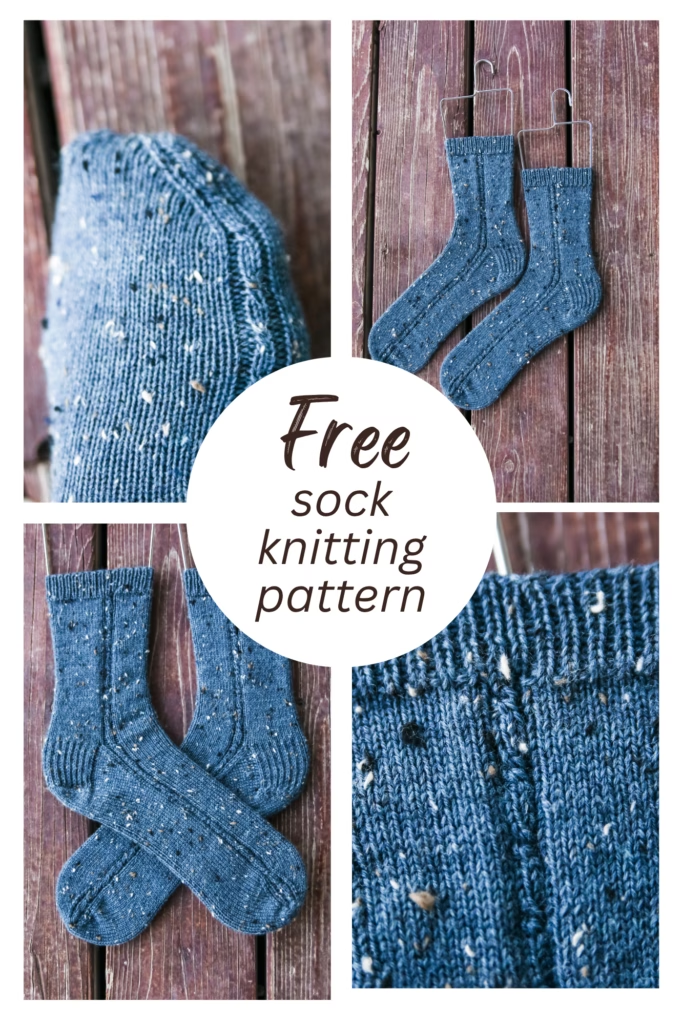
The Asa Socks are a fun way to dress up a classic top-down sock without adding a huge amount of extra fuss. Those little cables create plenty of visual interest while still letting the simple sock construction shine.
They’re also a lovely project when you want something small enough to carry around but interesting enough that you won’t get bored halfway through the second sock.
What yarn and needles do you need for this free knit sock pattern?
I knit the Asa Socks with Knit Picks Stroll Tweed, which gives the finished socks a cozy look with those tiny tweedy flecks scattered throughout the yarn. The subtle texture of the yarn works especially well with the small cables because you still get plenty of stitch definition without losing that warm, classic sock look.
For the needles, I used 2.25 mm knitting needles. Sock yarn paired with small needles creates a dense, comfortable fabric that is just right for socks that need to hold up to plenty of wear.
You can use your preferred method for working small circumferences, whether that means double-pointed needles, magic loop, or another method you already enjoy. The important thing is to check your gauge so your finished socks come out in the size you expect.
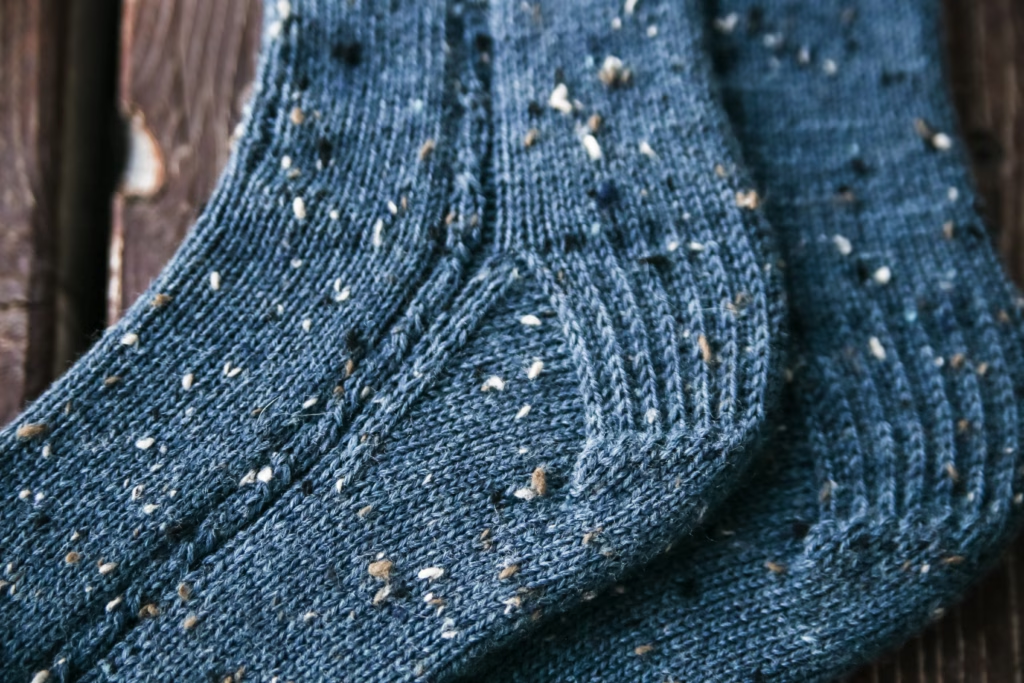
Because the pattern includes sizes from baby through large adult, you can use the Asa Socks for everything from tiny handmade baby gifts to cozy everyday socks for yourself. Just choose the size you need and follow the stitch counts given in the pattern.
And if you already have a favorite sock yarn tucked into your stash, this could be the perfect excuse to pull it out.
How do you knit the Asa Socks?
The Asa Socks are worked from the top down, beginning with the cuff and continuing through the leg before working a traditional heel flap and heel turn. From there, you’ll pick up stitches for the gusset, continue down the foot, and finish with the toe.
The tiny cable pattern adds texture to the design while keeping that familiar top-down sock construction many knitters know and love. If you’ve already made the Asa Headband or Asa Beanie, the cable motif will feel especially familiar.
Take your time with the cable section and keep an eye on your rounds so the design stays lined up as you work. Small cables like these are a great way to practice cable knitting because they give you that lovely twisted texture without taking over the entire project.

Once the heel is finished, the rest of the sock settles into a satisfying rhythm. Before long, you’ll have a cozy handmade sock ready to pair with its mate.
What should you knit after the Asa Socks?
If one pair of socks is never enough, there are plenty of other free sock patterns to add to your knitting list next:
Each pair gives you another chance to play with different textures and details while building up your collection of handmade socks. You could knit your way through the list, choose a pattern for everyone in the family, or simply pick whichever design catches your eye next.
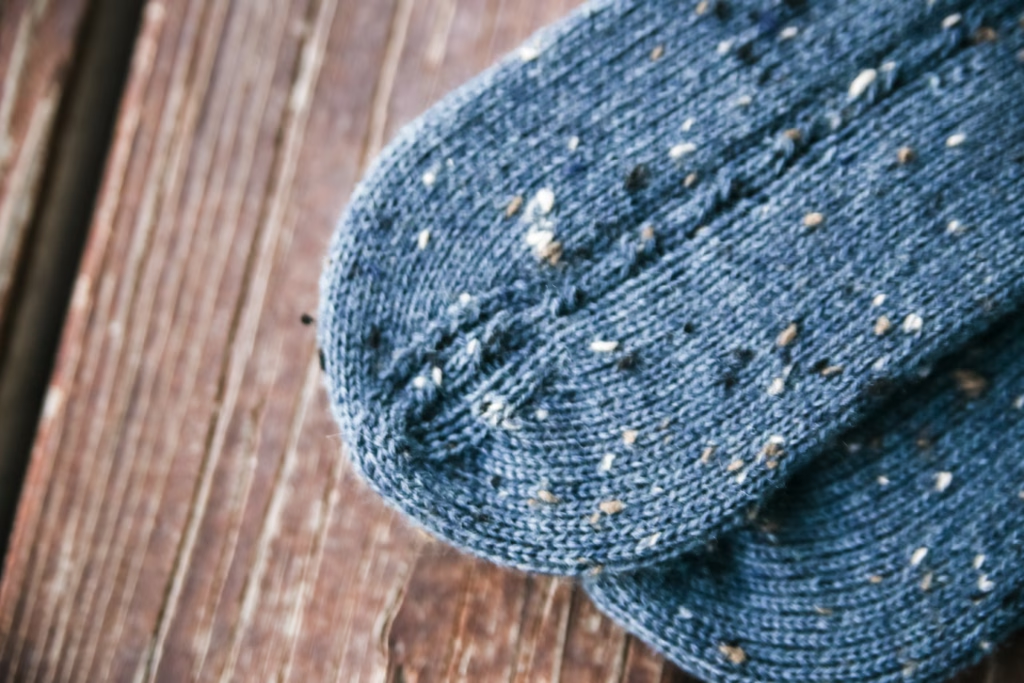
The Asa Socks are especially fun if you enjoy traditional sock construction but want a little more personality than plain stockinette. Between the tiny cables, tweedy yarn, and wide range of sizes, they’re an easy pattern to imagine making more than once.
And because the same cable design appears in the Asa Headband and Asa Beanie, you can even create a coordinating set.
Asa Socks Free Pattern
Materials:
Yarn: 200 (250, 300), 350, 380, (400, 440) yards KnitPicks Stroll Tweed
Needles: US #1 / 2.25mm DPNs (or circular for magic loop)
Notions: stitch markers, needle
Gauge: approximately 32 sts × 44 rounds = 4 × 4 in / 10 × 10 cm.
sizing:
baby (toddler, child,) lg child, adult S, (M, L)
Foot Length (adjustable): 4 (6, 7.25) 8, 9, (10, 11.25)ins/10 (15, 18) 20, 22.5 (25, 28)cms
Finished Circumference (unstretched):
Baby: 5 in / 12.7 cm
Toddler: 5.5 in / 14 cm
Child: 6.5 in / 16.5 cm
Large Child: 7 in / 17.8 cm
Adult Small: 7.5 in / 19.1 cm
Adult Medium: 8 in / 20.3 cm
Adult Large: 9 in / 22.9 cm
Abbreviations can be found on the last page.
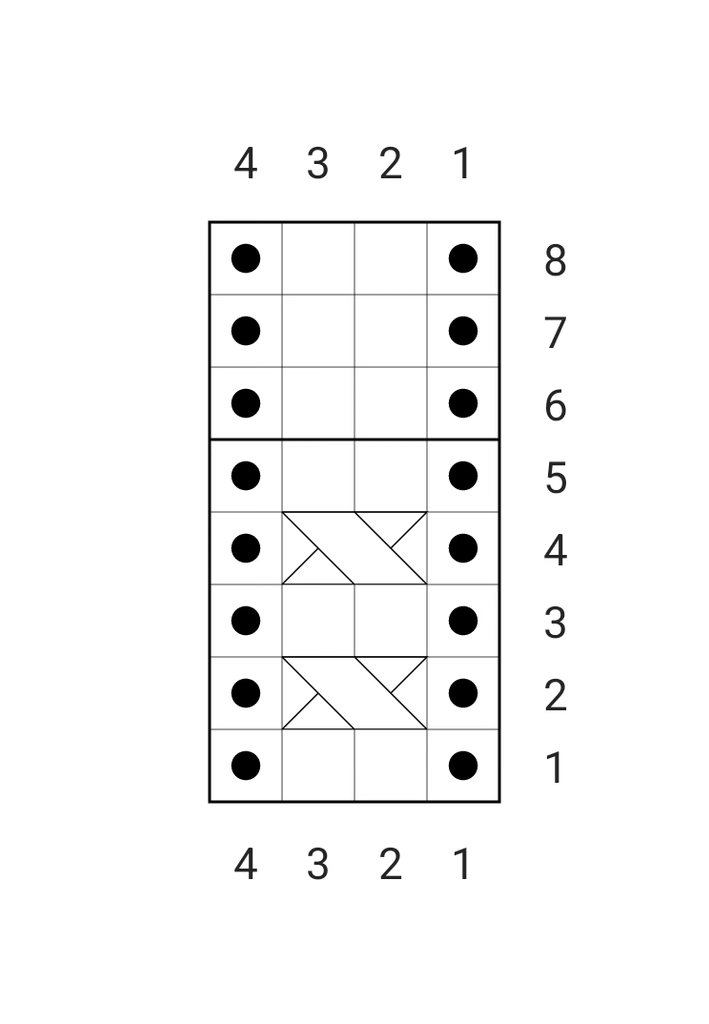
Round 1 – p1, k2, p1
Round 2 – p1, c2f, p1
Round 3 – p1, k2, p1
Round 4 – p1, c2f, p1
Round 5 – p1, k2, p1
Round 6 – p1, k2, p1
Round 7 – p1, k2, p1
Round 8 – p1, k2, p1
Cuff & Leg
Cast on 40 (44, 52) 56, 60, (64, 72) sts, join for working in the round.
Separate stitches on your dpn as follows:
1st needle 20 (22, 26) 28, 30 (32, 36) sts
2nd and 3rd needle 10 (11, 13) 14, 15 (16, 18) sts each needle
Work in 1×1 rib (k1, p1 around) for 8 (8, 10) 10, 12 (12, 14) rounds.
Set-Up round – p1, k2, p1, knit 12 (14, 18) 20, 22 (24, 28), p1, k2, p1, knit 20 (22, 26) 28, 30 (32, 36)
Now work as follows for a total 2.5 (3.5, 4) 4.5, 5, (6, 7)ins/6 (9, 10) 11, 12.5 (15, 17.5)cms from cast on (or desired length): work 4sts in charted stitch pattern, knit 12 (14, 18) 20, 22 (24, 28), work 4sts in charted stitch pattern, knit 20 (22, 26) 28, 30 (32, 36)
Heel Flap
Next round: You will work the heel flap on the next 20 (22, 26), 28, 30, (32, 36), sts. Place the remaining 20 (22, 26), 28, 30, (32, 36), sts on hold.
Row 1 (RS): (sl1, k1) across .
Row 2 (WS): sl1, purl to end, turn work.
Repeat rows 1-2 a total of 9 (10, 12), 13, 14, (15, 17) times.
This is a total of 18 (20, 24), 26, 28, (30, 34) rows.
Heel Turn
Row 1 (RS): sl1, k12 (12, 14) 14, 16 (18, 20), ssk, k1, turn.
Row 2 (WS): sl1, p7 (5, 5) 3, 5 (7, 7), p2tog, p1, turn.
Row 3: sl1, knit to 1 st before the gap, ssk, k1, turn work.
Row 4: sl1, purl to 1 st before the gap, p2tog, p1, turn work.
Repeat rows 3-4 until all stitches have been worked: 14 (14, 16), 16, 18, (20, 22) sts remain.
Knit across these heel stitches slipping the first st.
Gusset
Pick up and knit 10 (11, 13), 14, 15, (16, 18) sts along the edge of heel flap, PM, work in established pattern for 20 (22, 26) 28, 30 (32, 36)sts, PM, pick up and knit 10 (11, 13), 14, 15, (16, 18) sts along heel flap, k7 (7, 8) 8, 9, (10, 11) sts, mark the new BOR (located at the bottom of the foot). [54 (58, 68) 72, 78, (84, 94) sts]
Round 1: k17 (18, 21) 22, 24 (26, 29) sts, work across front 20 (22, 26), 28, 30, (32, 36) stitches keeping in established pattern throughout, k17 (18, 21) 22, 24 (26, 29) sts
Round 2: knit to 3 sts before marker, k2tog, k1, sm, work across front 20 (22, 26), 28, 30, (32, 36) stitches keeping in established pattern throughout sm, k1, ssk, knit to end [2 sts dec]
Work rounds 1–2 a total of 7 (7, 8) 8, 9, (10, 11) times. [40 (44, 52) 56, 60, (64, 72) sts]
Foot
Shift beginning of round (BOR) remove marker as follows: remove marker, k10 (11, 13) 14, 15, (16, 18), place marker – this is the new BOR, located at the side of the foot.
Continue working in the round, keeping the top of foot in pattern, until the piece measures 3 (5, 6) 6.5, 7, (8, 9)ins/7.5 (12.5, 15) 16, 17.5 (20, 22.5) cms from back of heel, or 1 (1, 1.25) 1.5, 2, (2, 2.25)ins/2.5 (2.5, 3) 4, 5 (5, 6)cms short of desired foot length.
Toe
Round 1: keep first 4 stitches in pattern, ssk, knit to 2sts before charted stitch pattern, k2tog, work 4 stitches in pattern, k1, ssk, knit to 3 sts before end of round, k2tog, k1 [4 sts dec]
Round 2: work 1 round in pattern
Work rounds 1-2 a total of 6 (7, 8) 9, 10, (10, 12) times. until 16 (16, 20) 20, 20, (24, 24) sts remain.
Cut yarn leaving a 12in/30cms tail, then graft toe using Kitchener stitch.
Weave in all ends
Kitchener stitch:
Place half the stitches on one needle, half the stitches on the other needle, (top and bottom NOT side to side)
Cut yarn (leaving a long yarn tail) and thread through a blunt needle.
Set-up steps: Insert needle purlwise (back to front) through the first st on front needle, leaving the st on the needle. Then insert needle knitwise (front to back) through the first st on the back needle, leaving the st on the needle.
Step 1: Insert needle knitwise through first st on front needle, then slip this st off the needle.
Step 2: Insert needle purlwise through the second st on front needle, leaving the st on the needle.
Step 3: Insert needle purlwise through first st on back needle, then drop this stitch off the needle.
Step 4: Insert needle knitwise through second st on back needle, leaving the st on the needle.
From this point to the end, repeat steps 1-4.
Kitchener stitch can be intimidating, but you get into a rhythm:
Front needle: knitwise drop off, purlwise leave on,
Back needle: purlwise drop off, knitwise leave on,
Repeat!
At the end of the row, there is only 1 stitch left on each needle.
Work steps 1 and 3 once more.
Abbreviations
c2f – Cable 2 Front: Slip 1 st to cable needle and hold in front, knit 1 st from left needle, then knit 1 st from cable needle.
k – knit
k2tog -knit 2 stitches together
P – purl
pm – place marker
sm – slip marker
ssk – slip next st knitwise, slip next st knitwise, place stitches back onto left needle, knit both slipped sts together
st – stitch
sts – stitches
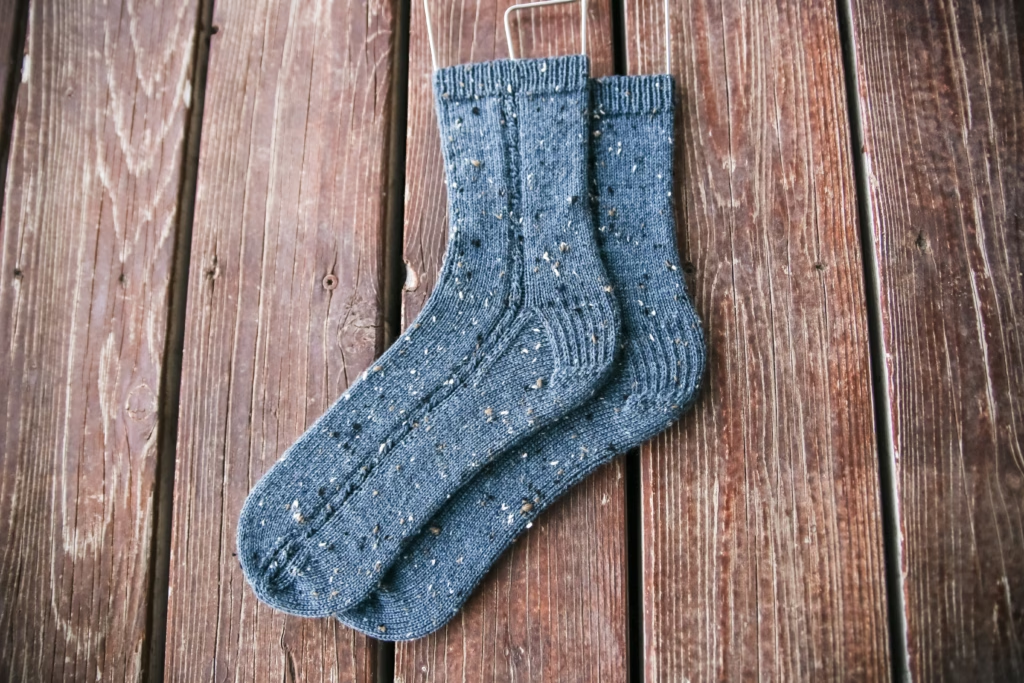
What color would you use for your Asa Socks? Tell me in the comments—I always love seeing which yarn colors everyone chooses!
This post may contain affiliate links. If you make a purchase through one of these links, I may earn a small commission at no additional cost to you.
Your heel instructions are incorrect. I believe you mean sl1, k1, sl1… and conversely, sl1, p1, sl1… across heel stitches As written, you get a stockinette heel flap.
Thank you for that. I think I uploaded the original and not the final edit 🫣 I just fixed that.