
This Cable Sock Pattern is one of my favorite options when I want something timeless, polished, and a little more interesting than plain stockinette—while still fitting right in with my collection of free sock knitting patterns.
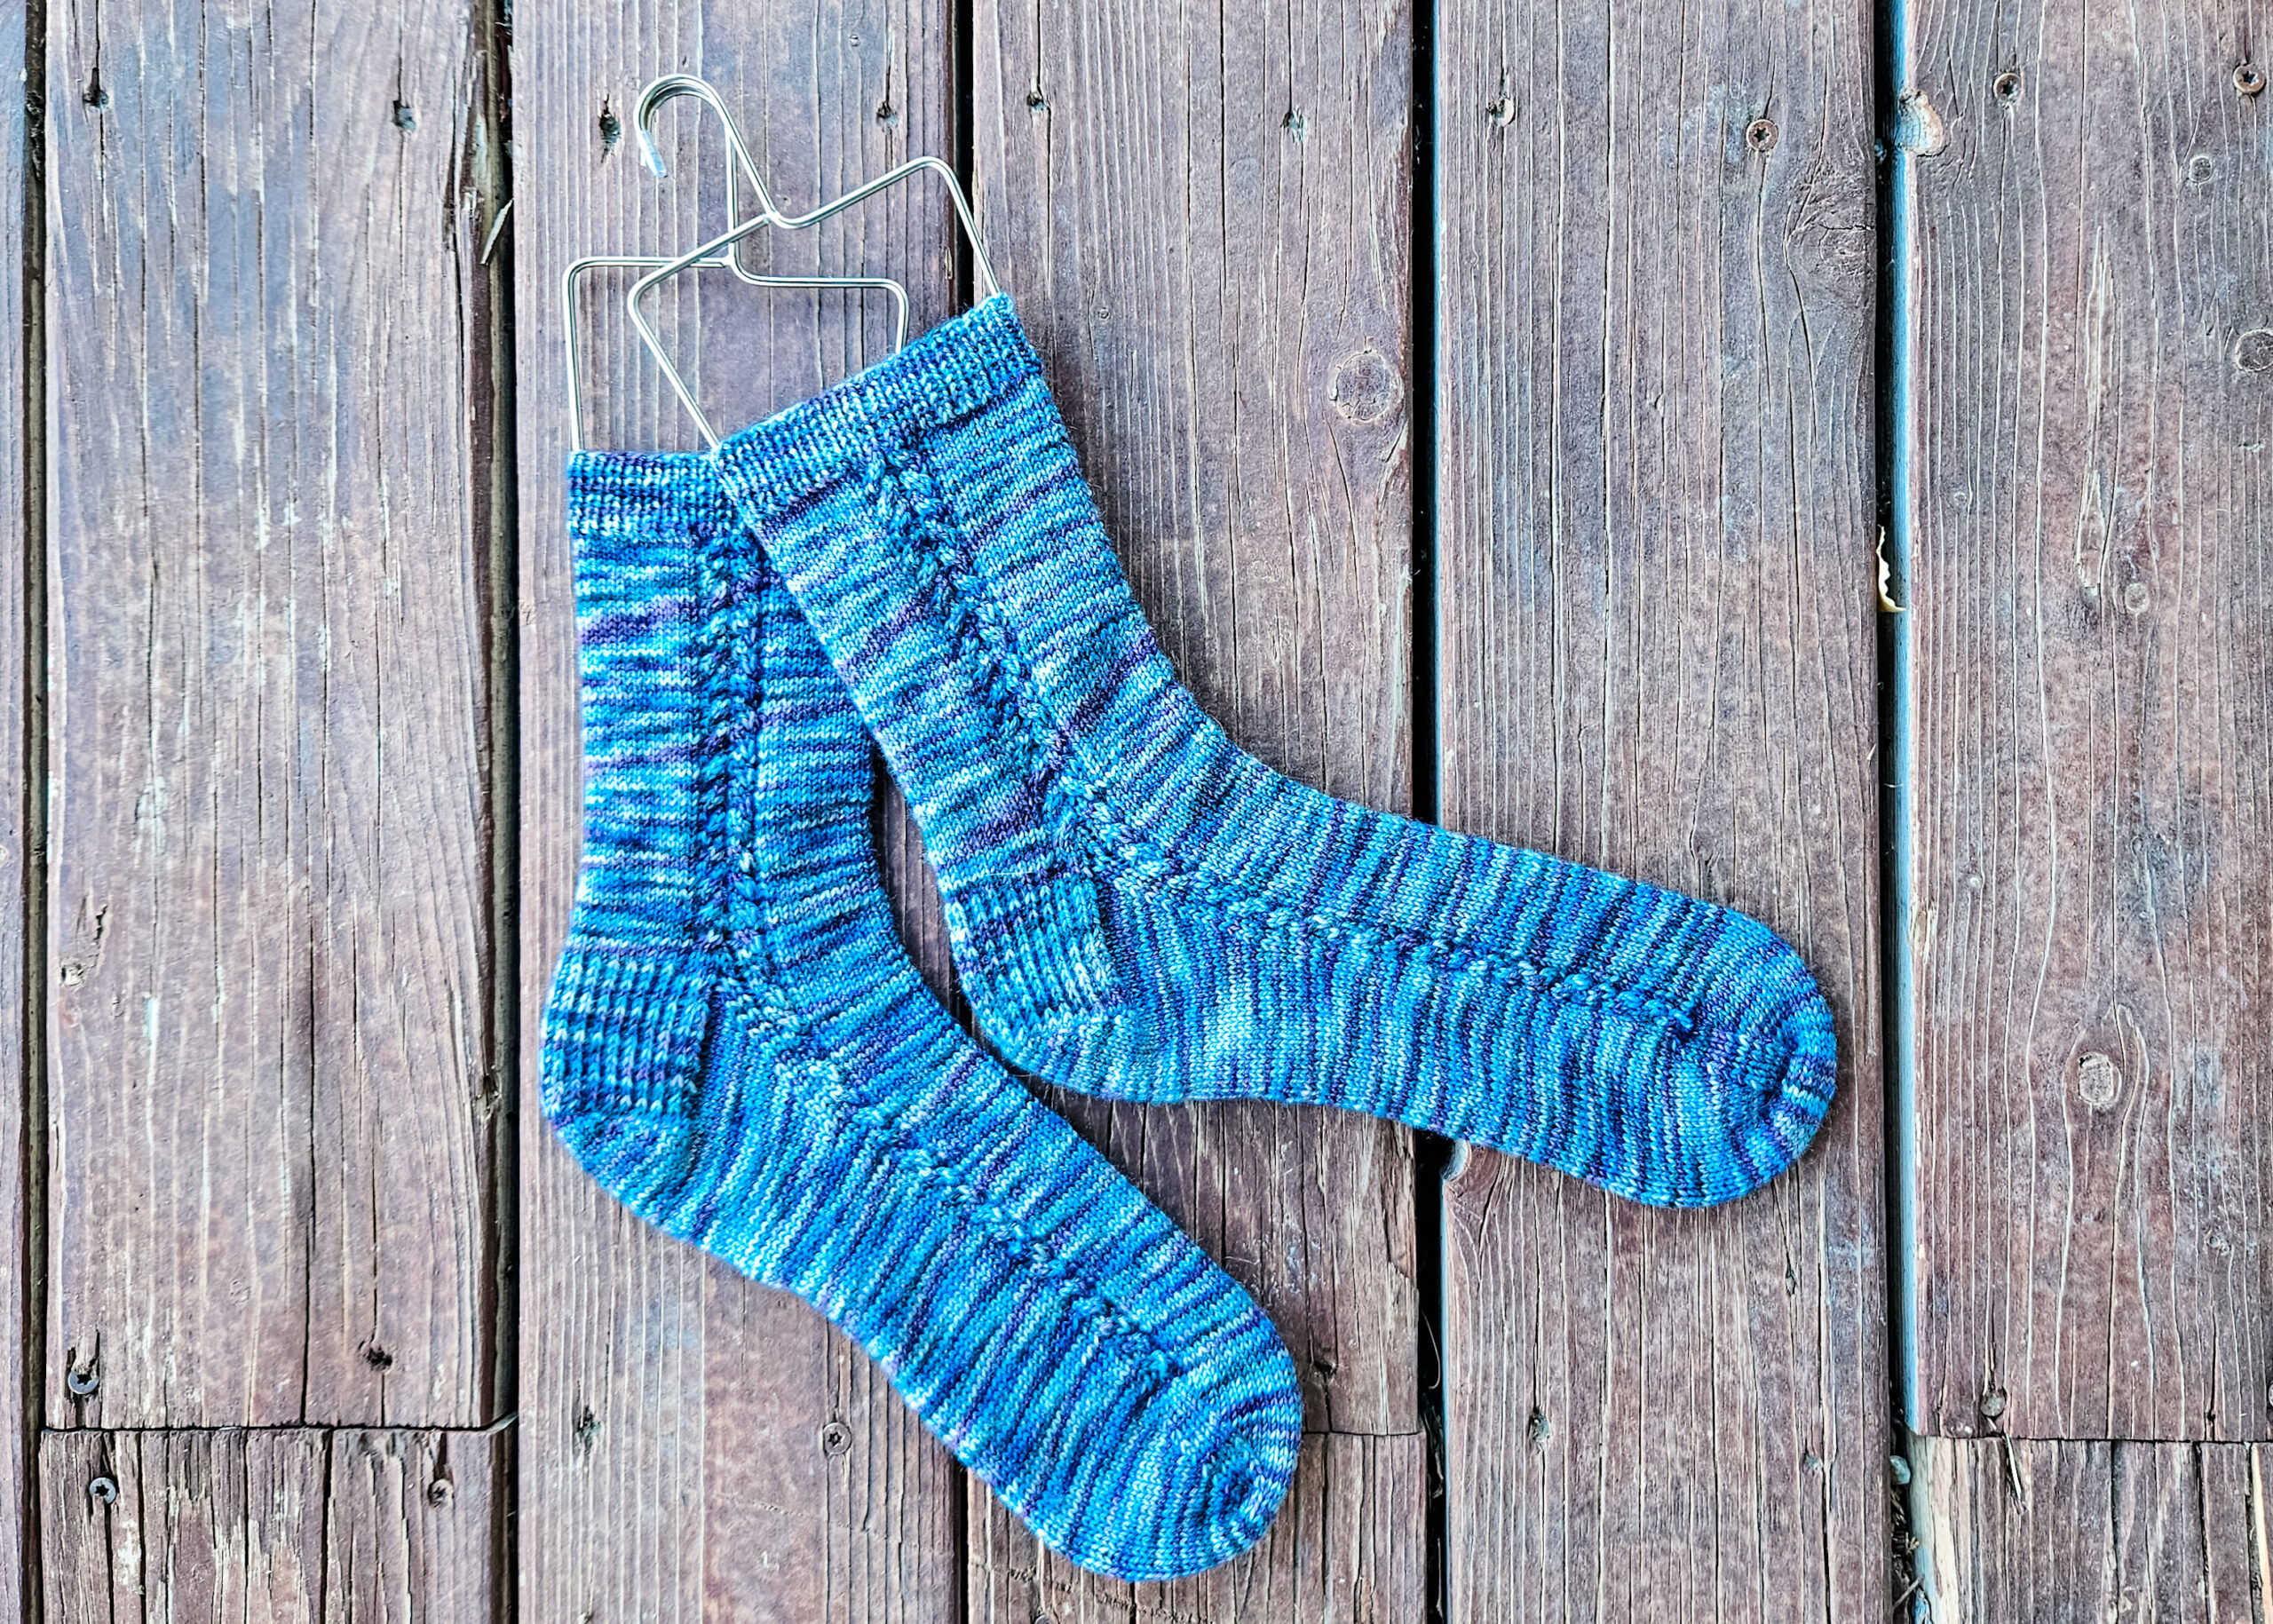
The Elizabeth Socks feature delicate cable details running down the sides of the leg and across the top of the foot, giving them just enough texture to feel special without becoming overly complicated. If you’ve been looking for a sock design that looks elegant but remains approachable and wearable, this Cable Sock Pattern checks every box.
The top-down heel flap construction keeps the fit familiar and reliable, making this a great choice for knitters who love classic sock construction. The tiny cables create beautiful detail while staying repetitive enough to memorize after a few rounds.
If you want socks that look polished and detailed without requiring constant chart-checking, this pattern is exactly that. It’s the kind of project that keeps your knitting interesting while still being relaxing enough for evening knitting.
A good Cable Sock Pattern should balance texture and wearability, and that’s exactly what these do. They’re detailed enough to stand out but practical enough for everyday use.
What Materials Do You Need for This Cable Sock Pattern?
For this Cable Sock Pattern, I kept the materials simple and practical so the cables can be the star of the show.
I recommend Malabrigo Sock as a substitute for the original discontinued yarn because it gives these socks beautiful stitch definition while still staying soft and comfortable to wear. The tiny cables really pop in a smooth sock yarn like this.
Using 2.25 mm needles helps create the dense fabric you want in hand-knit socks so they hold up well over time and fit snugly in shoes.

One of my favorite things about this yarn and needle pairing is how clearly the cable texture shows up without making the fabric stiff. It gives the finished socks structure while keeping them soft and wearable.
How Is This Cable Sock Pattern Constructed?
This Cable Sock Pattern is worked from the top down using a traditional heel flap and gusset construction. If you already enjoy knitting top-down socks, the construction will feel very familiar.
The cable pattern runs continuously down the sides of the leg and across the top of the foot, creating a polished, balanced look from cuff to toe. Because the cables are small and repetitive, they add visual interest without slowing your knitting pace too much.
If you’re newer to cable knitting, this is a fantastic introduction to working cables in socks because the repeats are manageable and easy to memorize.

The heel flap construction also makes these especially comfortable for knitters who prefer the fit of a traditional gusseted sock. It provides a secure fit through the heel and instep while keeping the cable panel uninterrupted where it matters most.
Looking for More Free Sock Knitting Patterns?
If you love this Cable Sock Pattern, here are a few more sock patterns you may want to add to your queue:
These patterns all offer something a little different, from textured stitches to bold panels to simpler everyday designs. If you enjoy knitting socks but like to keep each pair interesting, they make a great next project.
Whether you’re building out your handmade sock drawer or knitting gifts for family, having several reliable free sock knitting patterns on hand makes planning your next cast-on much easier.

The Elizabeth Socks are one of those patterns that look polished and impressive but are surprisingly relaxing once you settle into the repeat. They’re perfect for knitters who want a classic sock with a little extra detail.
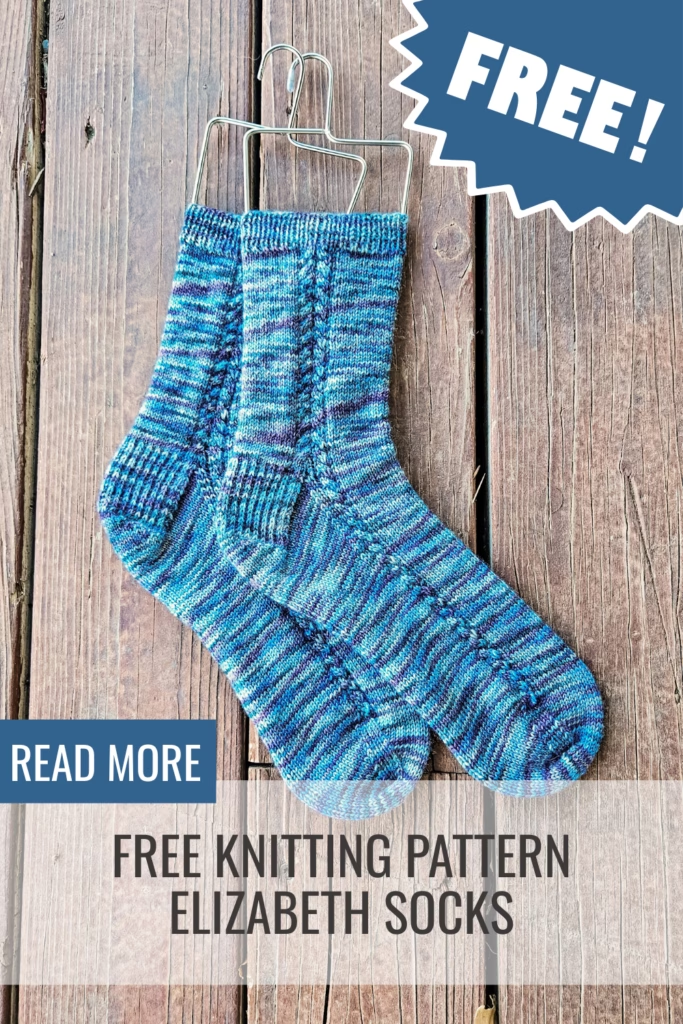
Elizabeth Socks Pattern
Materials:
Yarn: approximately 150-475yds of fingering weight sock yarn
Needles: US #1 / 2.25mm DPNs (or circular for magic loop)
Notions: stitch markers, needle
Gauge: 8sts x 11rows per inch
sizing:
baby (toddler, child,) lg child, adult S, (M, L)
Finished measurements (unstretched):
Foot Length (adjustable): 4 (6, 7.25), 8, 9, (10, 11.25)”
Model is wearing an adult small. This pattern comes with instructions for ankle length and regular length legs. If you are a left-handed knitter (working left to right) there are no modifications required for this pattern.
Abbreviations can be found on the last page.
Cuff
Cast on 40 (44, 52) 56, 60, (64, 72) sts, join for working in the round. Separate stitches on your dpn as follows:
1st and 2nd needle 10 (11, 13) 14, 15 (16, 18) sts each needle
3rd needle 20 (22, 26) 28, 30 (32, 36) sts
Work in 1×1 rib (k1p1 around) for 8 (8, 10) 10, 12 (12, 14) rounds
Then work in pattern as follows:
Round 1 – [m1pw, K4, m1pw, k 11 (18, 22) 24, 26 (28, 32), m1pw, k4, m1pw, K4, m1pw, k 11 (18, 22) 24, 26 (28, 32), m1pw, k4]
46 (50, 58) 62, 66 (70, 78) sts distributed as:
12, (13, 15) 16, 17 (18, 20) sts on the 1st and 2nd needles
22 (24, 28) 30, 32 (34, 38) on the 3rd needle
Round 2 – [p1, K4, p1, k 12 (14, 18) 20, 22 (28, 28), p1, k4, p1, K4, p1, k 12 (14, 18) 20, 22 (24, 28), p1, k4]
Round 3 – [p1, K4, p1, k 12 (14, 18) 20, 22 (28, 28), p1, k4, p1, K4, p1, k 12 (14, 18) 20, 22 (24, 28), p1, k4]
Round 4 – [p1, c2f, p1, k 12 (14, 18) 20, 22 (28, 28), p1, c2b, p1, c2f, p1, k 12 (14, 18) 20, 22 (28, 28), p1, c2b]
Round 5 – [p1, K4, p1, k 12 (14, 18) 20, 22 (28, 28), p1, k4, p1, K4, p1, k 12 (14, 18) 20, 22 (24, 28), p1, k4]
Ankle length
Work rounds 2-5 above for 4 (4, 6) 6, 8, (8, 10) rounds.
Full length
Work rounds 2-5 above until piece measures 2.5 (3.5, 4) 4.5, 5, (6, 7)” from cast on (or desired length)
Heel Flap
Next round: Work across the 1st and 2nd needles in pattern. Place these stitches on hold. The heel flap will be worked flat, turning after each row, with only the 22 (24, 28) 30, 32 (34, 38) on the 3rd needle
Row 1 (RS): (sl1, k1) to end, turn work.
Row 2 (WS): sl1, purl to end, turn work.
Repeat rows 1-2 a total of 8 (10, 12), 13, 14, (16, 18) times.
This is a total of 16 (20, 24), 26, 28, (32, 36) rows.
Heel Turn
Row 1 (RS): sl1, k14 (14, 16), 18, 18, (18, 22), ssk, k1, turn work. Row 2 (WS): sl1, p9 (7, 7) 9, 7 (5, 9), p2tog, p1, turn work.
Row 3: sl1, knit to 1 st before the gap, ssk, k1, turn work.
Row 4: sl1, purl to 1 st before the gap, p2tog, p1, turn work.
Repeat rows 3-4 until all stitches have been worked:
16 (16, 18), 22, 20, (20, 24) sts remain.
Knit across these heel stitches slipping the first st.
Gusset
With needle 3, pick up and knit 9 (11, 13), 14, 15, (17, 19) sts along the edge of heel flap, PM,
Knit across 24, (26, 30) 32, 34 (36, 40) on needles 1 and 2 (combining them all to needle 1) PM,
Pick up and knit 9 (11, 13), 14, 15, (17, 19) sts along heel flap onto needle 2, K8 (8, 9) 11, 10, (10, 12) sts onto needle 2, mark the new BOR (located at the bottom of the foot).
[58 (64, 74) 82, 84, (90, 102) sts]
Round 1: knit around
Round 2: knit to 3 sts before marker, k2tog, k1, sm, knit to next marker, sm, k1, ssk, knit to end [2 sts dec]
Work rounds 1-2 a total of 7 (8, 9) 11, 10, (11, 13) times.
[44 (48, 56) 60, 64, (68, 76) sts]
Foot
Transfer the first stitch on needle 1 and the last st on needle 2 (the edge purl sts) to needle 3.
Needle 1 should now have 22 (24, 28) 30, 32 (34, 38) sts
Needles 2 and 3 should both have 11 (12, 14) 15, 16 (17, 19) sts
The new beginning of round is now needle 1.
Continue working in the round in established pattern until the piece measures 3 (5, 6) 6.5, 7, (8, 9)” from back of heel, or 1 (1, 1.5) 1.75, 2, (2, 2.25)” short of desired foot length.
Toe
Round 1: k1, ssk, knit to 3 sts before marker, k2tog, k2, ssk, knit to 3 sts before end of round, k2tog, k1 [4 sts dec]
Round 2: knit
Work rounds 1-2 a total of 7 (8, 9) 10, 11, (11, 13) times. until 16 (16, 20) 20, 20, (24, 24) sts remain.
For a left-handed tutorial of these decreases visit my youtube here
Cut yarn leaving a 12” tail, then graft toe using Kitchener stitch.
Weave in all ends
Kitchener stitch:
Place half the stitches on one needle, half the stitches on the other needle, (top and bottom NOT side to side)
Cut yarn (leaving a long yarn tail) and thread through a blunt needle. Set-up steps: Insert needle purlwise (back to front) through the first st on front needle, leaving the st on the needle. Then insert needle knitwise (front to back) through the first st on the back needle, leaving the st on the needle. Step 1: Insert needle knitwise through first st on front needle, then slip this st off the needle.
Step 2: Insert needle purlwise through the second st on front needle, leaving the st on the needle.
Step 3: Insert needle purlwise through first st on back needle, then drop this stitch off the needle.
Step 4: Insert needle knitwise through second st on back needle, leaving the st on the needle.
From this point to the end, repeat steps 1-4.
Kitchener stitch can be intimidating, but you get into a rhythm:
Front needle: knitwise drop off, purlwise leave on,
Back needle: purlwise drop off, knitwise leave on,
Repeat!
At the end of the row, there is only 1 stitch left on each needle.
Work steps 1 and 3 once more.
For a left-handed video tutorial of this visit my youtube here
Abbreviations
k – knit
P – purl
sm – slip maker
pm – place marker
st – stich
sts – stitches
k2tog -knit 2 stitches together
ssk – slip next st knitwise, slip next st knitwise, place stitches back onto left needle, knit both slipped sts together
m1p – make one purlwise
w&t – wrap and turn – wrap the yarn around the next stitch, turn work
c2f – place next 2 sts onto cable needle, hold in front, knit next 2 sts, knit 2 sts from cable needle
c2b – place next 2 sts onto cable needle, hold in back, knit next 2 sts, knit 2 sts from cable needle

Have you made these socks yet? Let me know in the comments what yarn color you’d use—I always love seeing how different knitters make the same pattern their own.
This post may contain affiliate links, which means I may earn a small commission at no extra cost to you if you purchase through my links. Thank you for supporting my work and helping me continue to provide free knitting patterns and tutorials.
I have a question about the leg. I had cast on 60 stitches, as recommended for an adult size small. However, after making the cuff, it seems like the first round requires 64 stitches and 6 increases. I only have 60 stitches on my needles. Could you please clarify this?
I don’t know how it happened or how it wasn’t noticed, but the pattern copy on my site is my first draft and not my final edit. I am uploading the final edit right now. I am so sorry for any confusion.